After some of the most creative scaffolding in history, that made building the pyramids look like child’s play, we got the site into a position to start rendering and work towards having the roof installed. Steve had been doing an awesome job building the roof structure from the inside out until this point, and despite appearances that suggested otherwise, we had a safety net to allow us to continue on the exterior of the building.

The easy part – scaffolding out the back.


There wasn’t enough room for scaffolding down the sides so we bolted it to the walls and had it flying over the next door neighbours house with millimetres of tolerance – after rendering, roofing, painting – full credit to the scaffolders there wasn’t so much as a scratch on the neighbours roof.
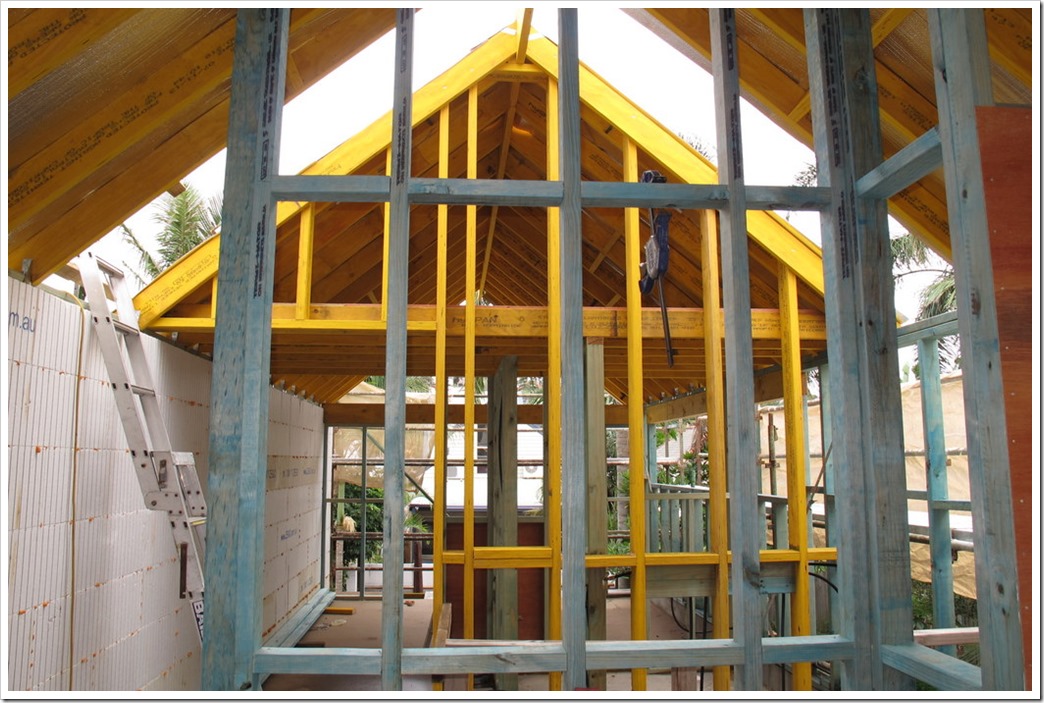
Most of the upstairs framing is up.
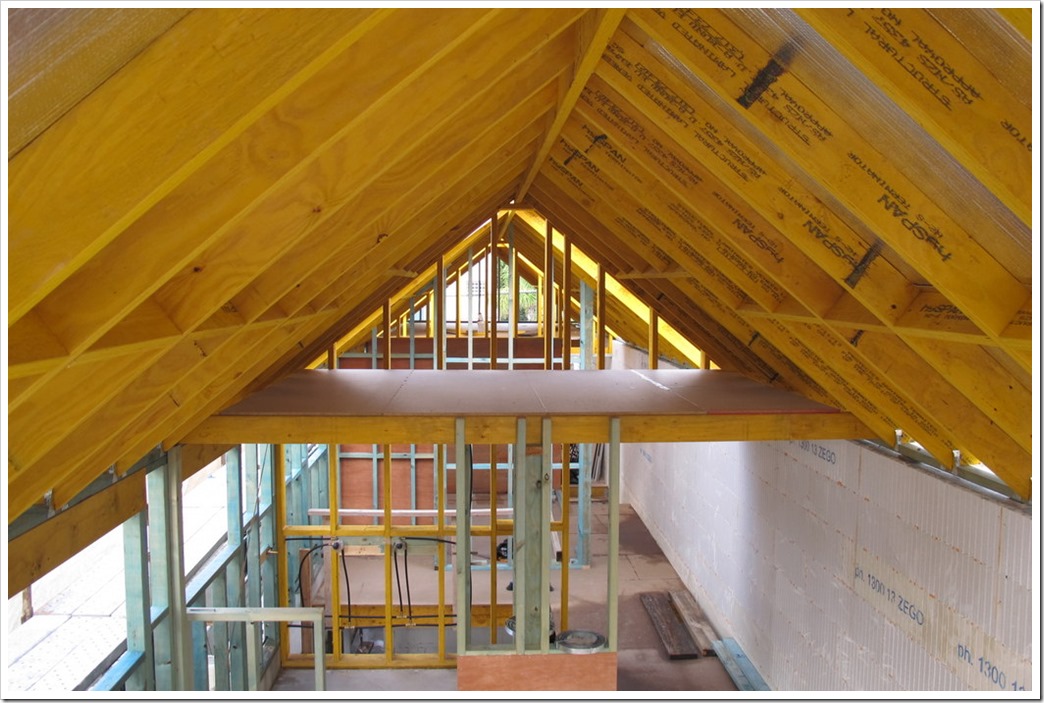
Kingspan AIR-CELL pinned to the roof ready for colorbond and thick blanket in between. We also insulated under the kingspan eventually having 5 layers – Colorbond roof, 70mm blanket, 7mm aircell, 150mm earthwool batts and 10mm timber cladding on the ceilings, making it very cool in the summers and keeping the warmth in in the winters.
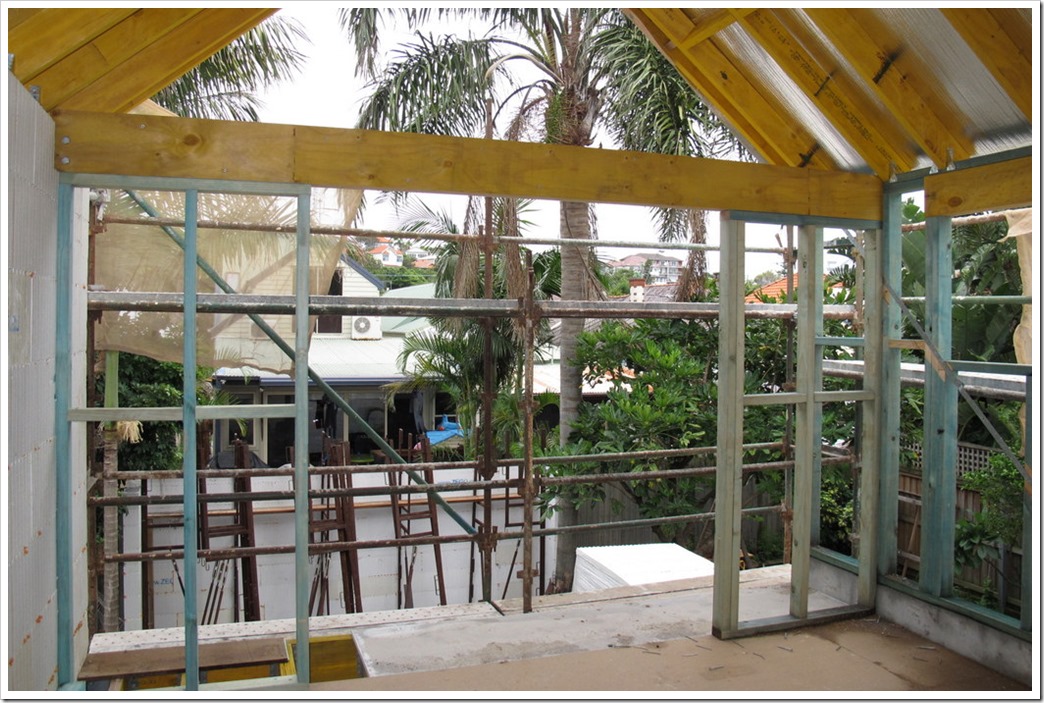
View west from the master bedroom.
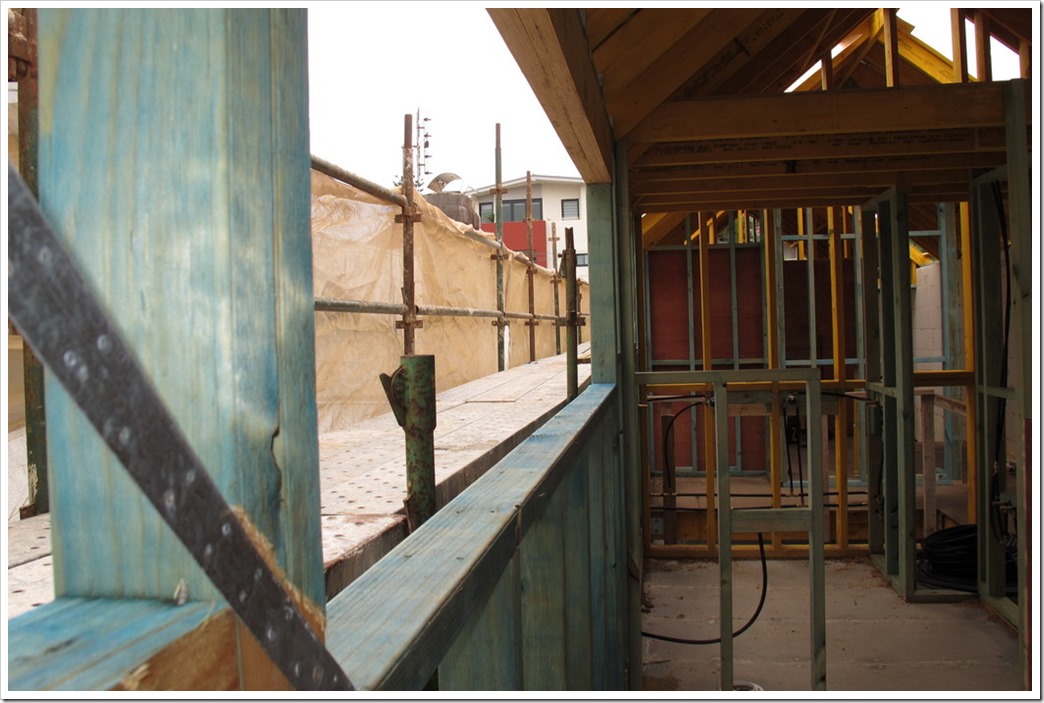
Looking North from master bedroom
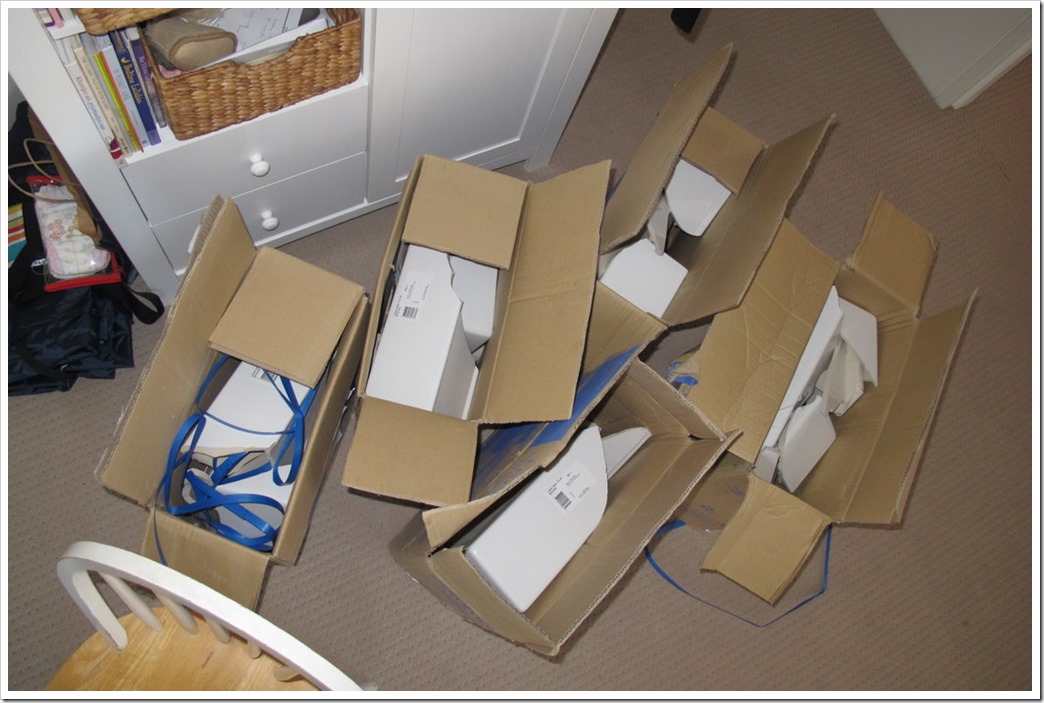
Meanwhile, back at the site office (also known as our living room in Bonner Ave) the bathroom sinks arrived – smashed to bits!!! 🙁

Mat and the boys got stuck into rendering – often having to suck in, squeeze and keep the big boys on other jobs as access was so tight!
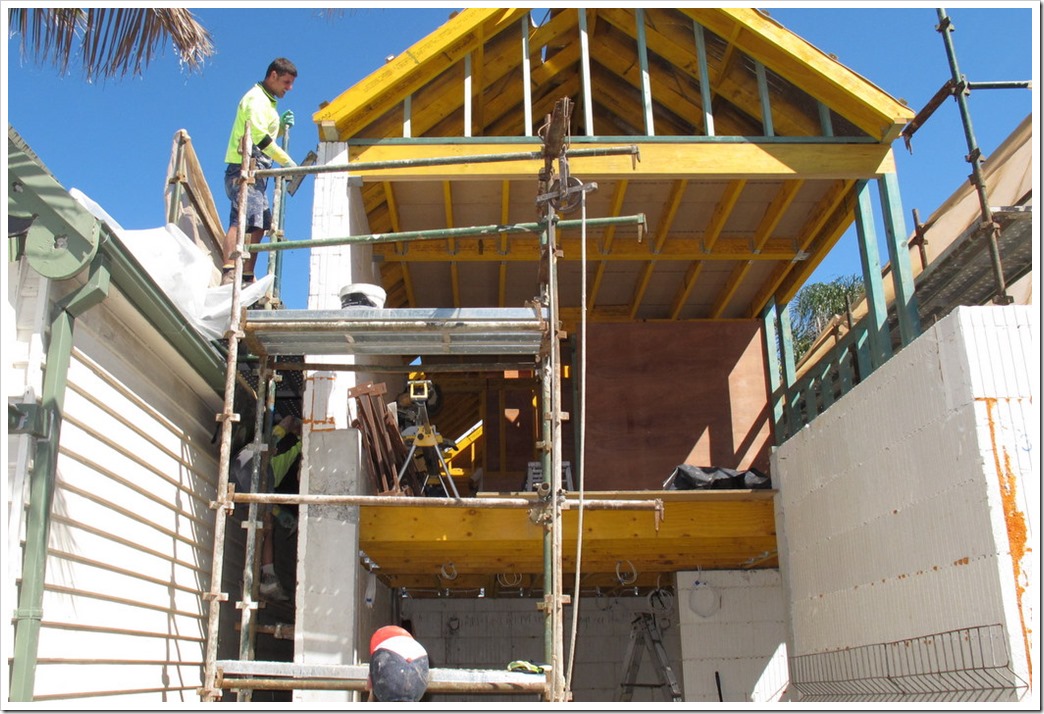
Matt works up high, as another guys does acrobatics wedged below rendering the lower walls. 
Meanwhile we were continuing with the interior fit outs – the plumbers setting out the bathroom. 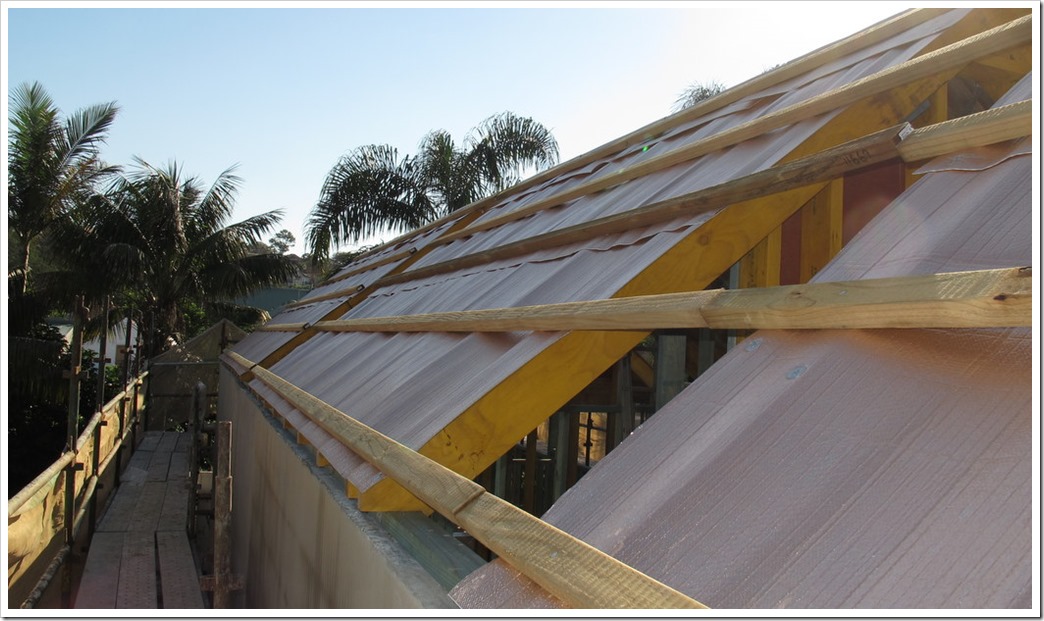
Battens ready for blanket and roofing sheets to go on.
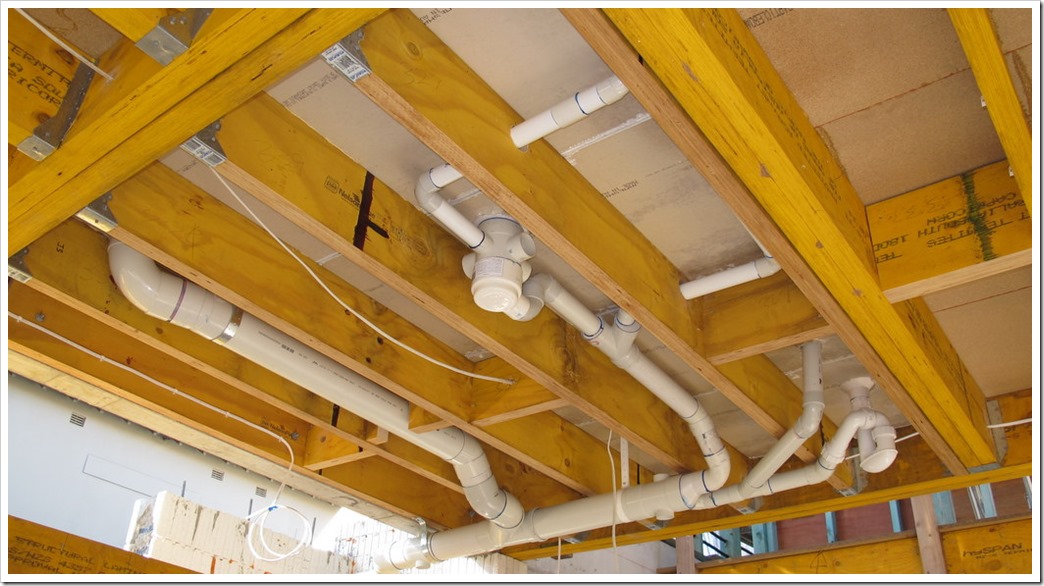
The important bits… for sending faxes to Kurnell!

Visualising the kitchen! 
Steve hanging out in the shower.

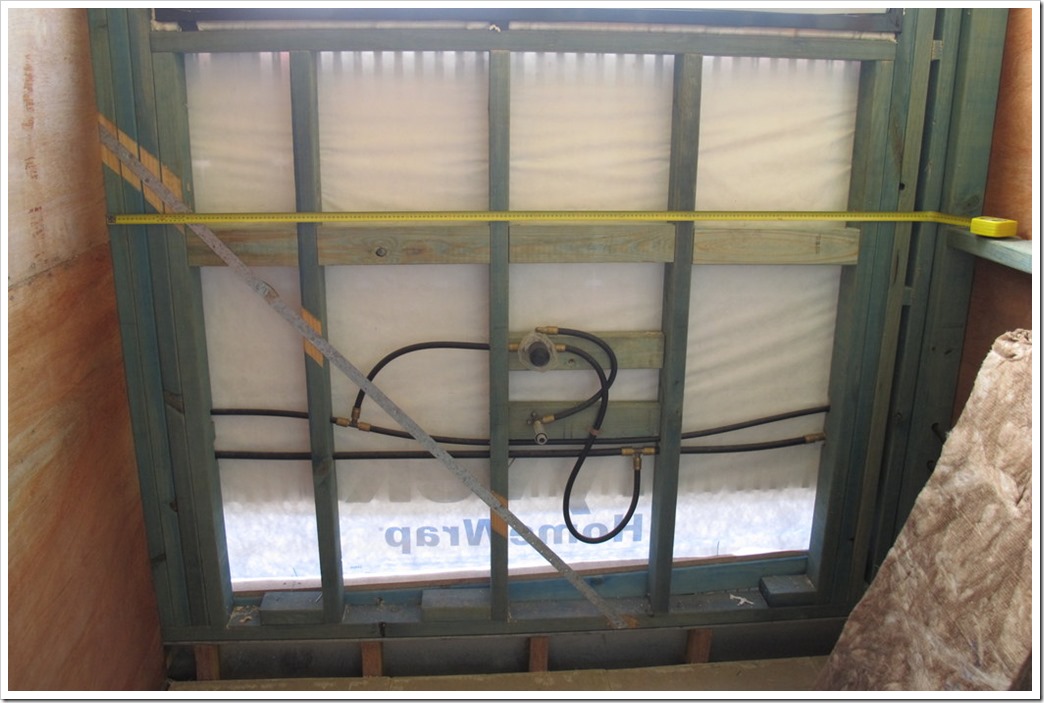
Water pipes are in – electrical yet to come.

Getting crowded as the hydronic towel rails and bathroom radiators get prepped!
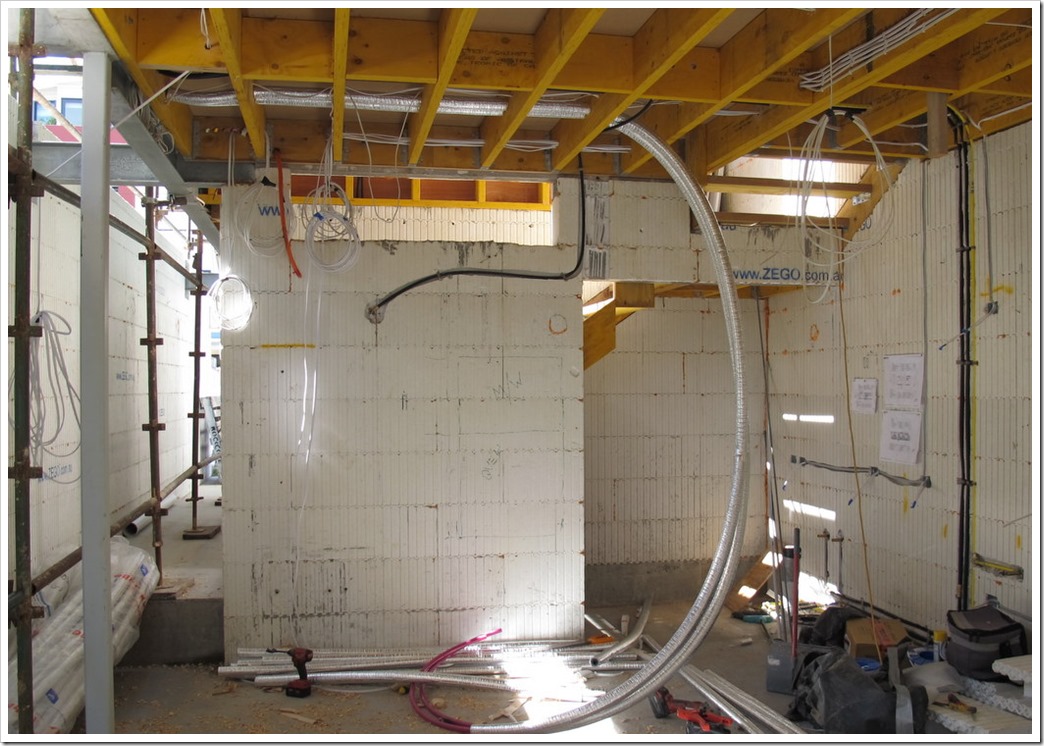
All of the hot water, hydronic pipes are insulated for maximum efficiency.

The whole house is wired with CAT 6 data cables.
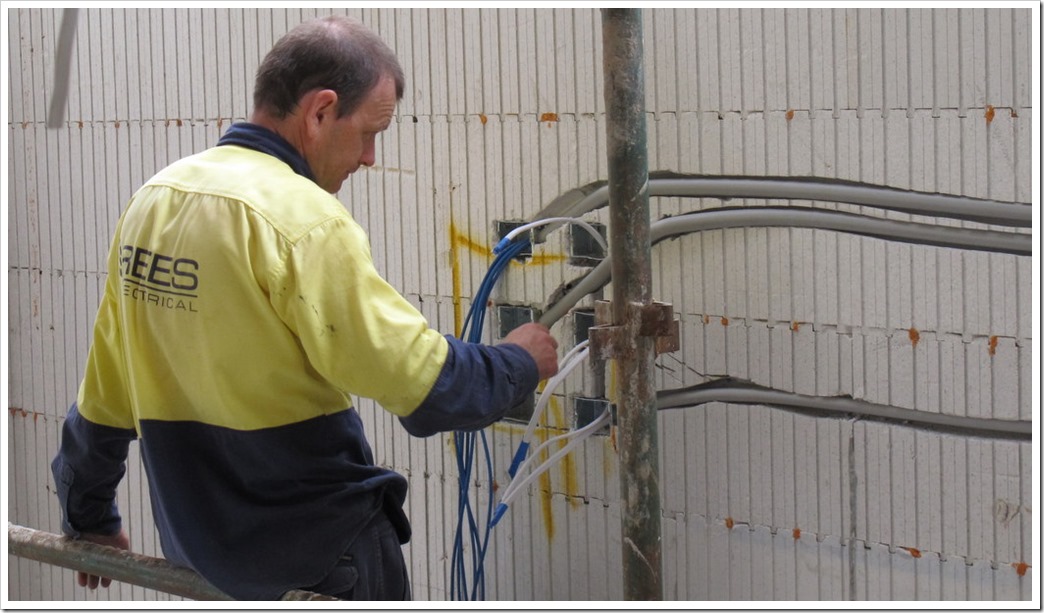
What was that one again??

Wet Foff – he was a famous renderer!

Hallway roof battens going up.
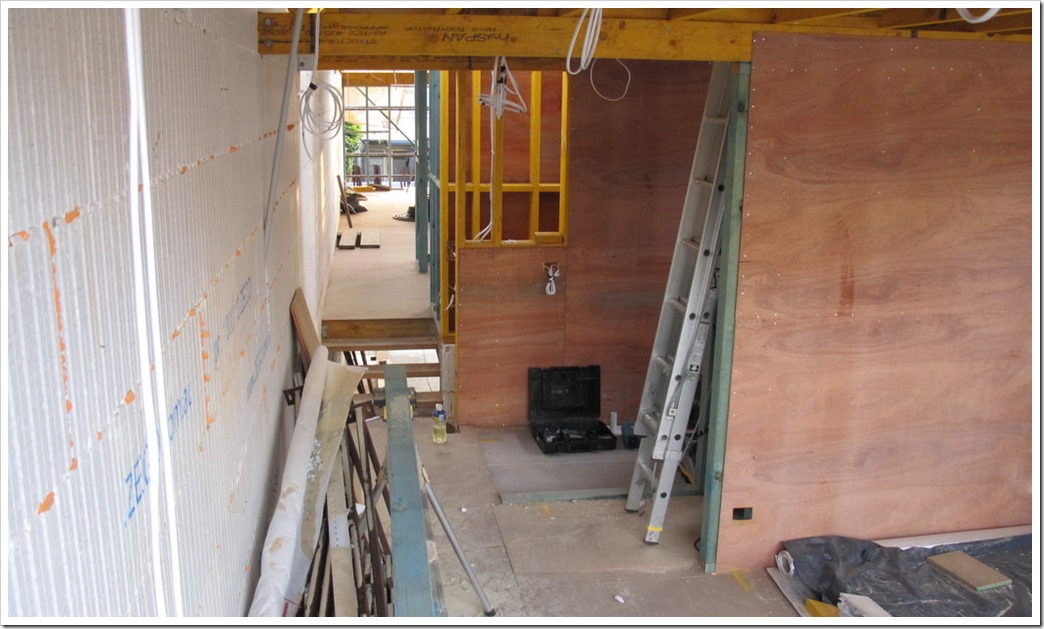
Bracing ply on all cross walls to give extra stability to the frame.
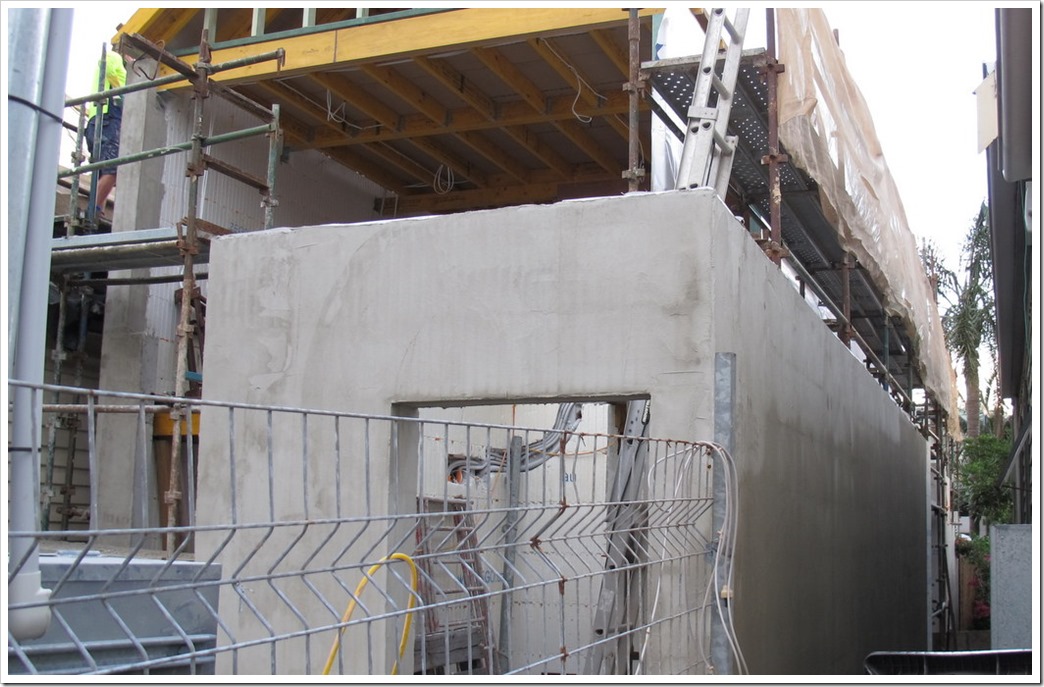
Stage 1 (of 4) of the rendering complete
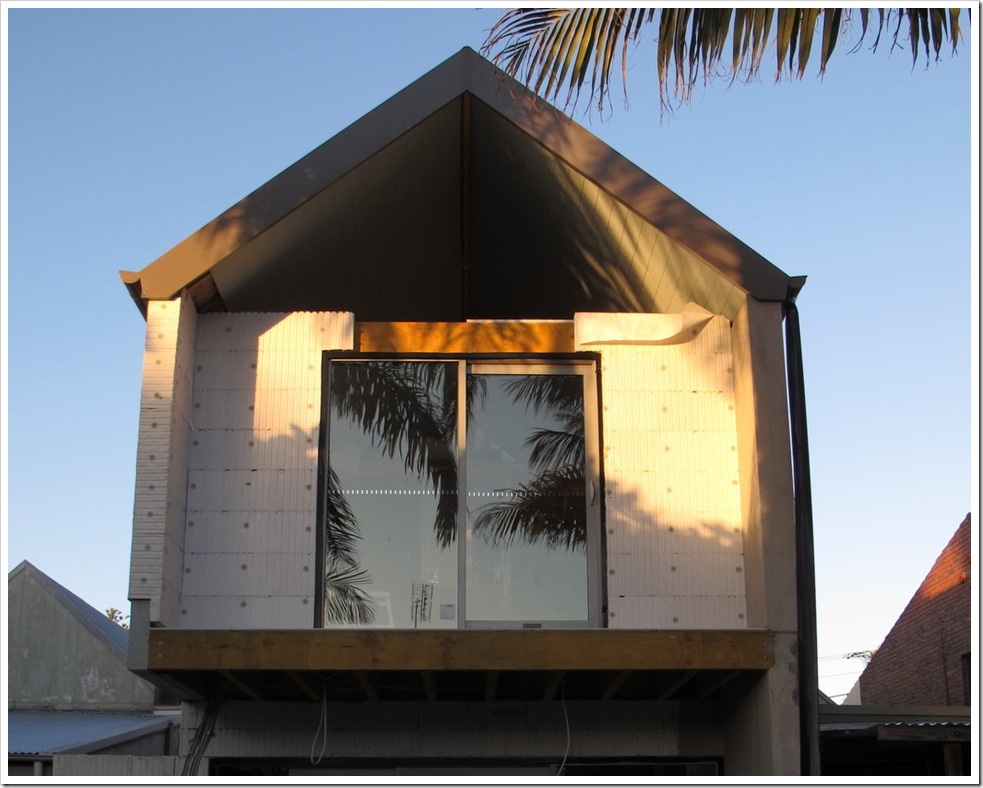
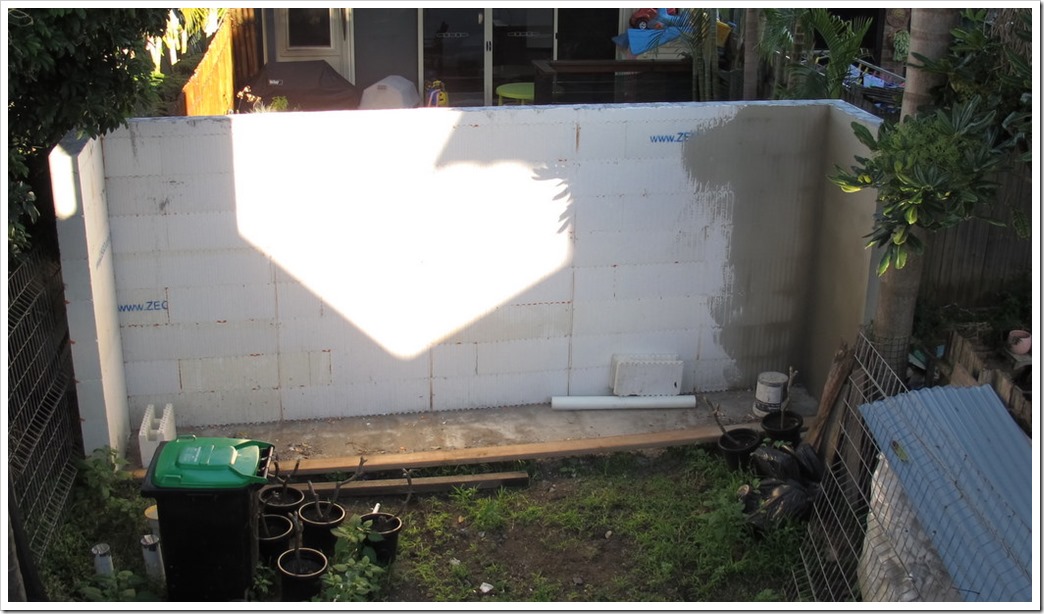
 North side, upstairs walls are a timber structure also clad in 60mm of Zego – (All southern walls and downstairs North walls are steel reinforced concrete)
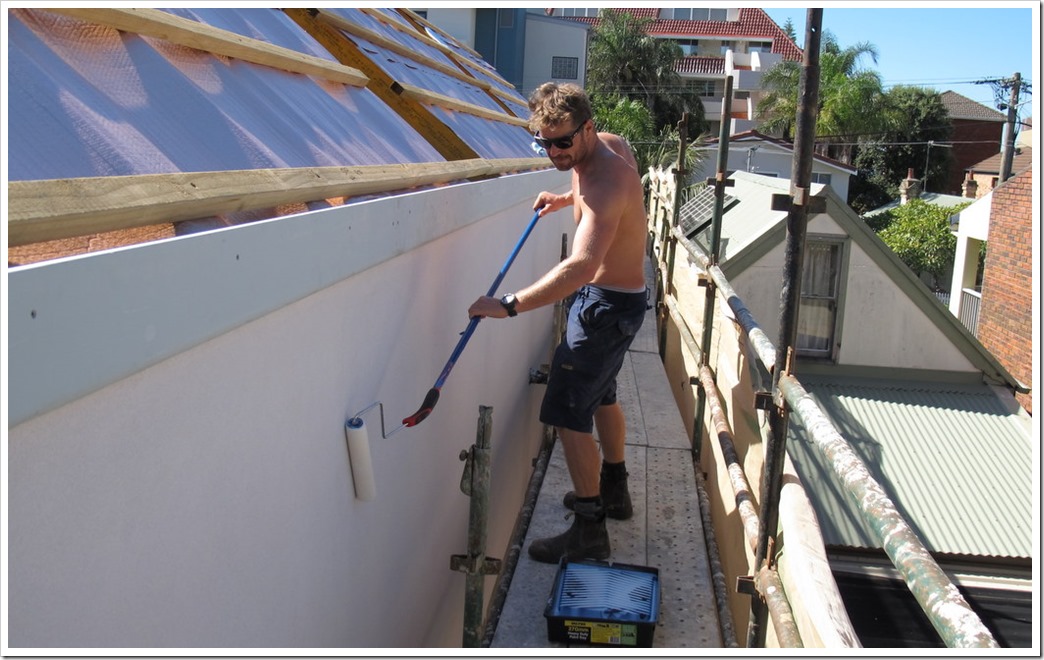
Putting two coats of optional sealant on the acrylic render – it makes the render less prone to staining and allows it to be pressure washed more easily.

Nothing like spending a Saturday in the sun, music on painting 100m2 of wall – twice – good times!
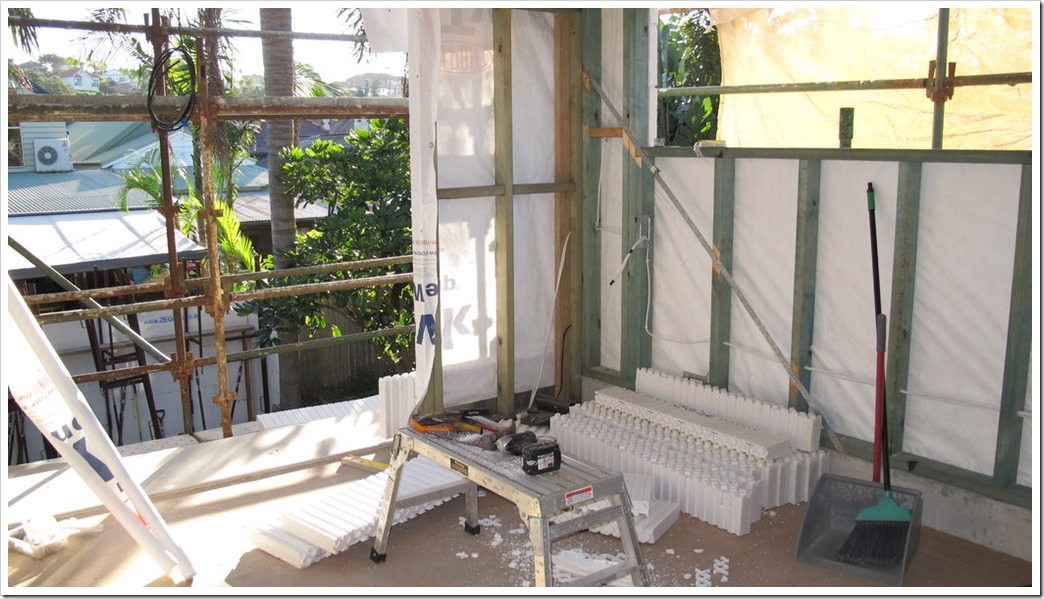
Any timber framed walls were wrapped in “House Gortex” known as Tyvek homewrap – it’s a waterproof, windproof material that allows the house to breathe whilst allowing any moisture to evaporate through the walls, controlling drafts and creating another waterproof barrier.
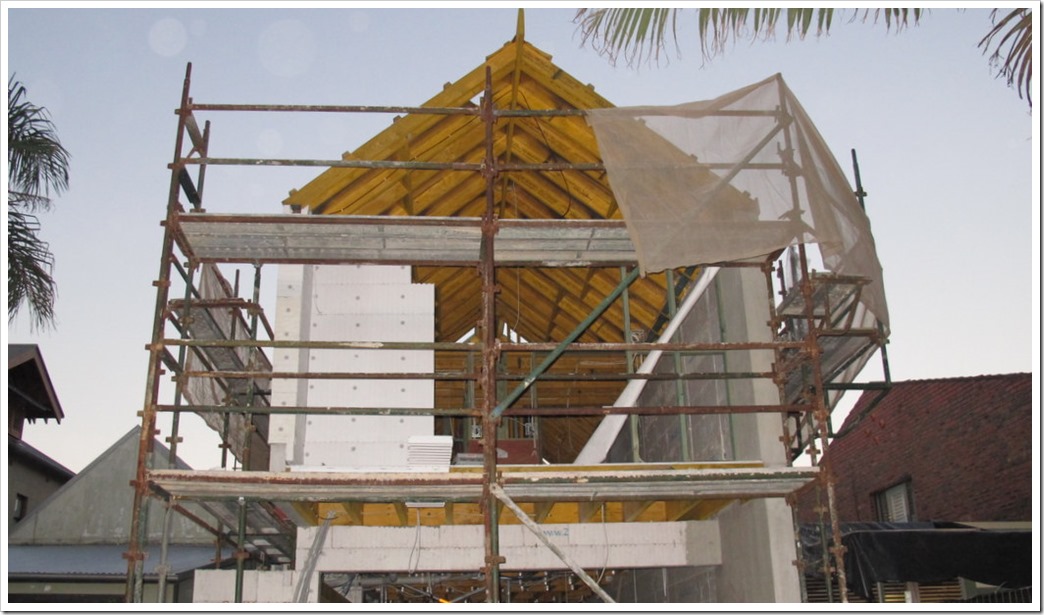
Back of the house – getting closer to being ready for windows.
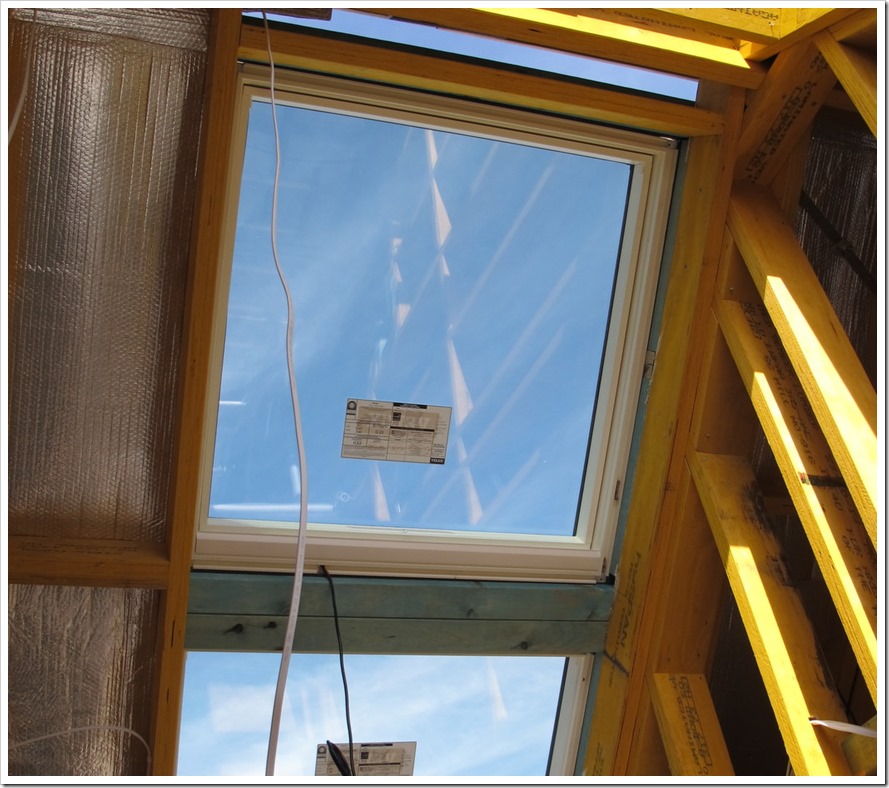
Skylights going in – south facing ones are electric so the house can vent hot air in summer whilst drawing cool air form downstairs.
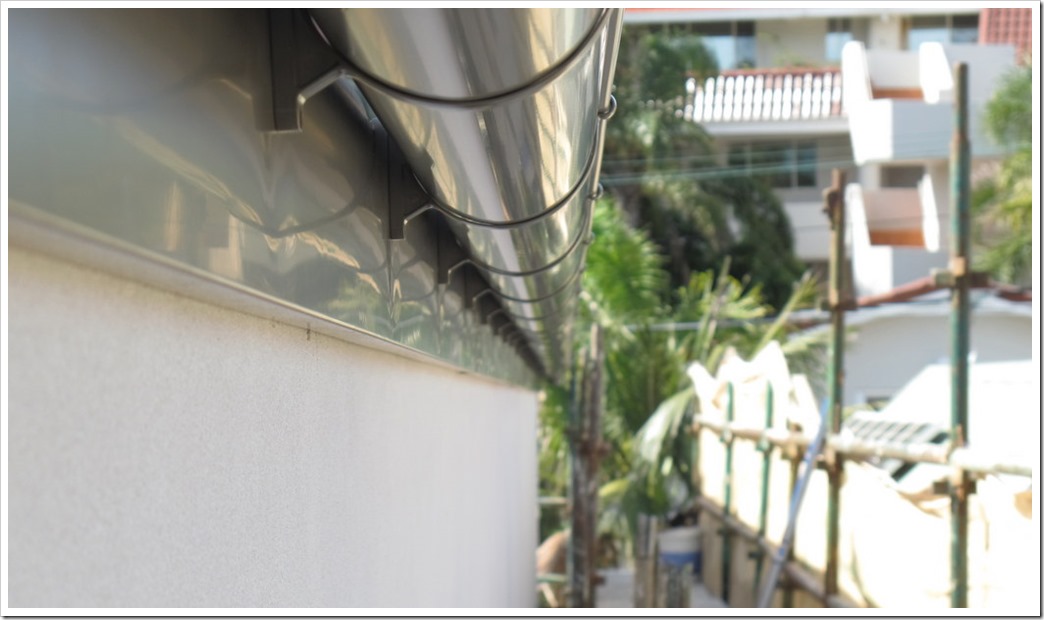
guterrrrs…. sexy huh?!!

Skylights in, gutters and fascias installed – time for the roof!
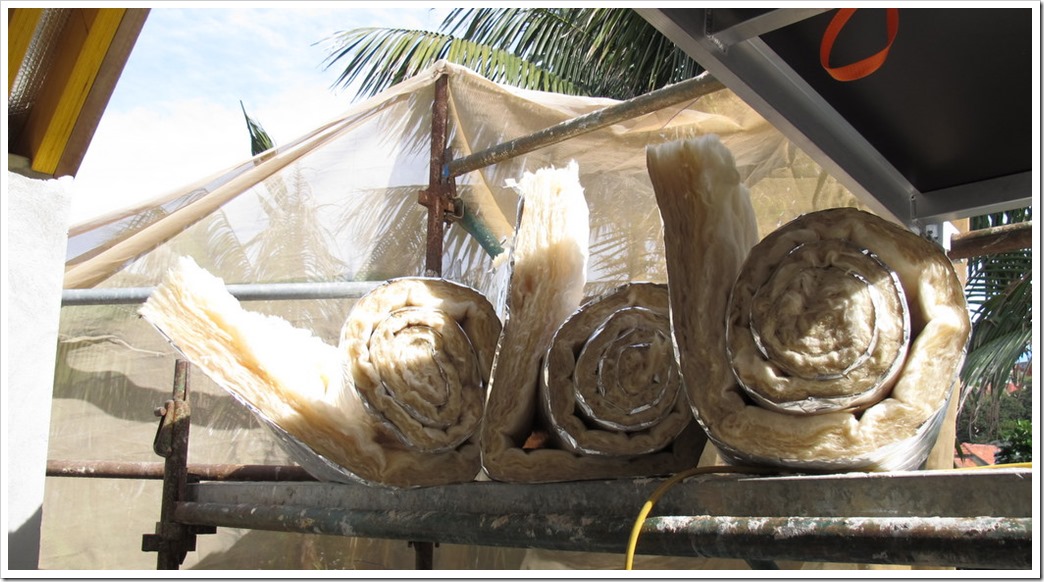
70mm blanket that goes under each roof sheet.
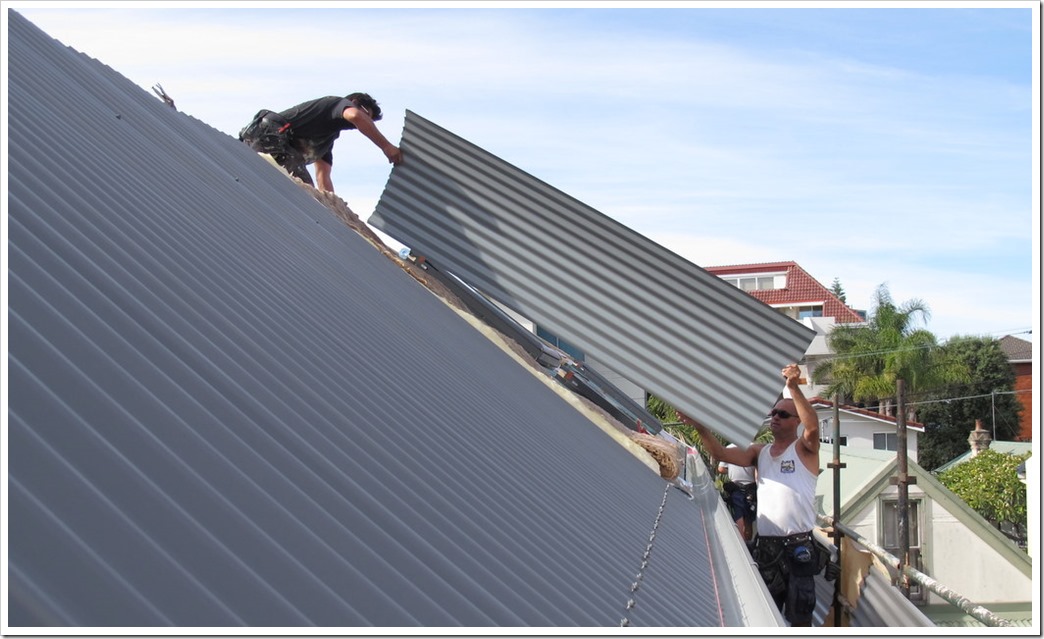
and the roof goes up – sheet by sheet!
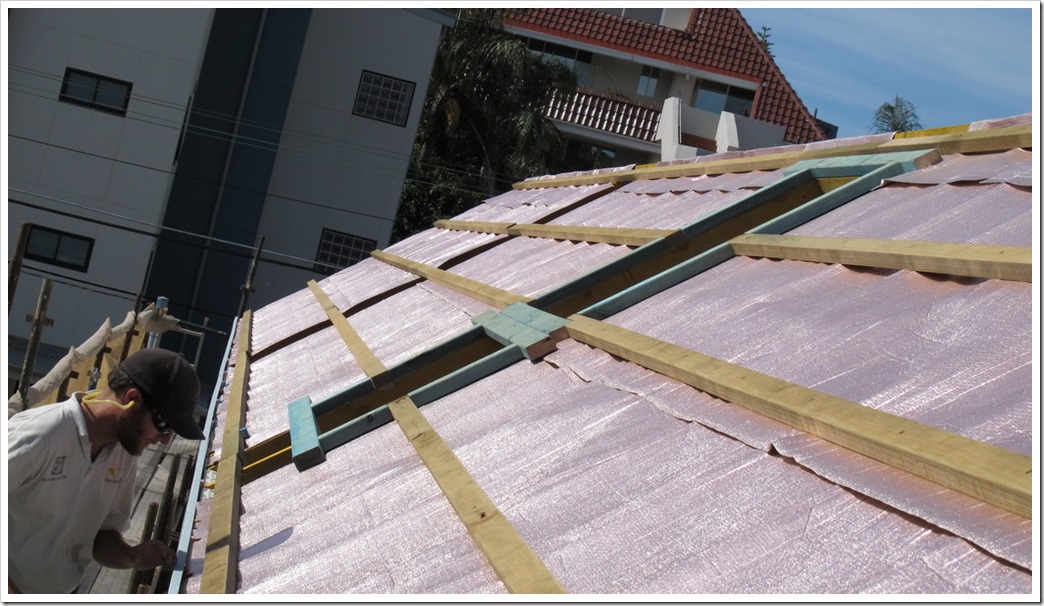
Meanwhile, Steve works on the north side
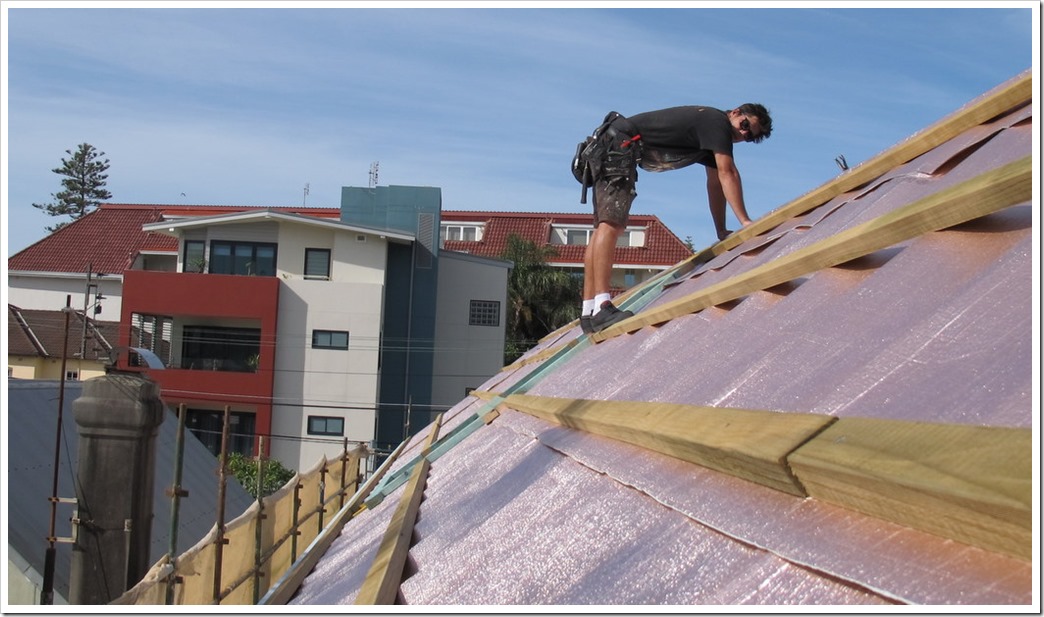
Full respect to these guys… no fear!
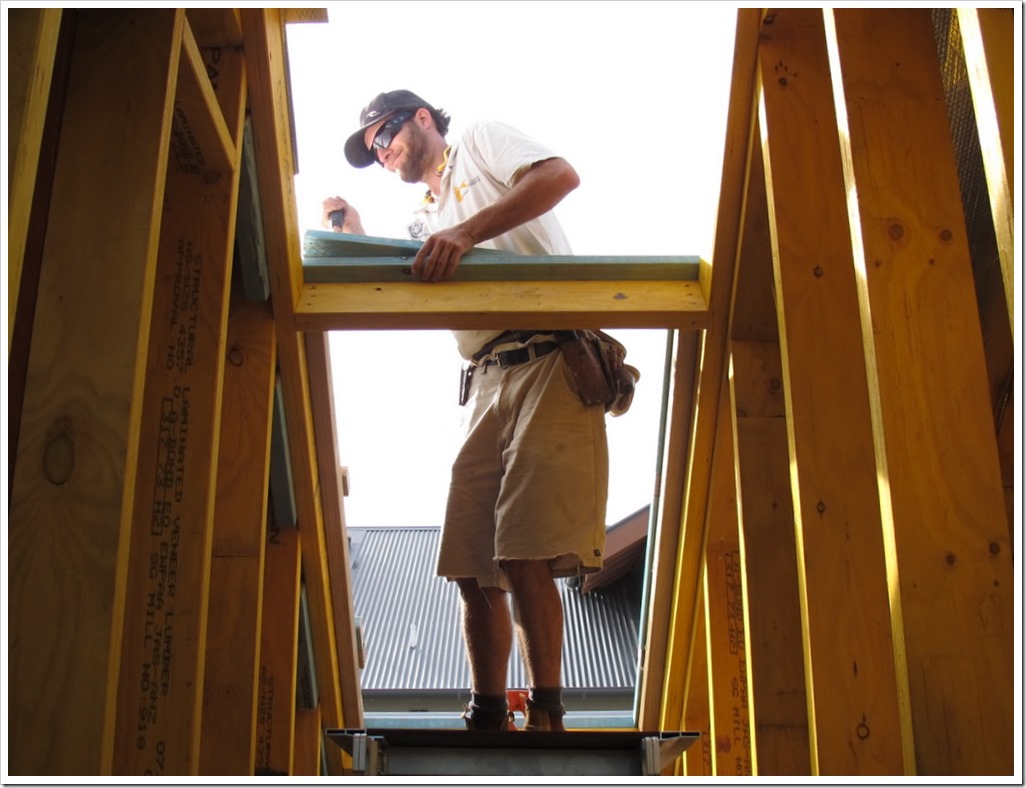
Steve prepping the skylight frames.
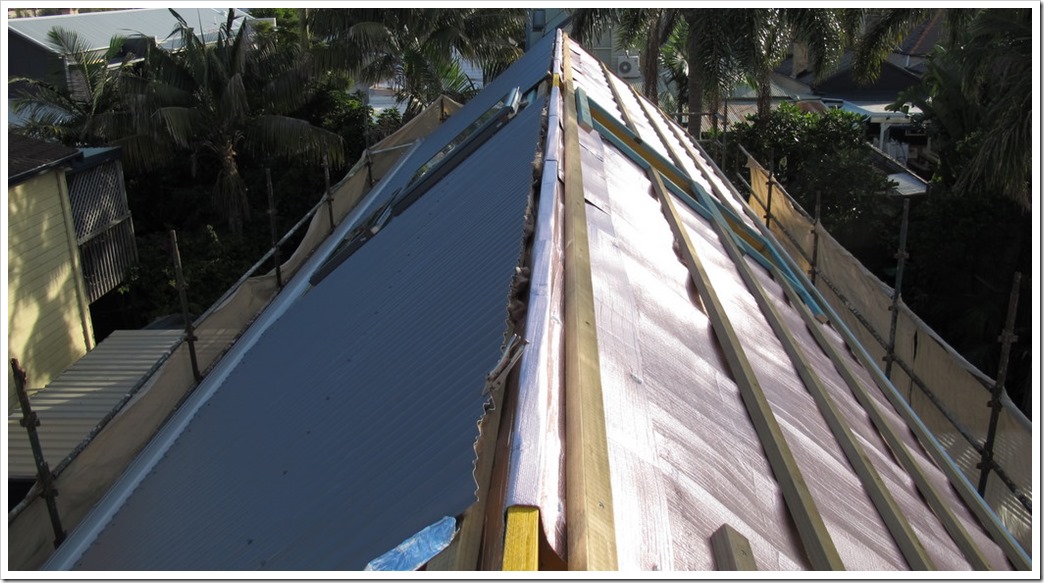
We’re half way there.
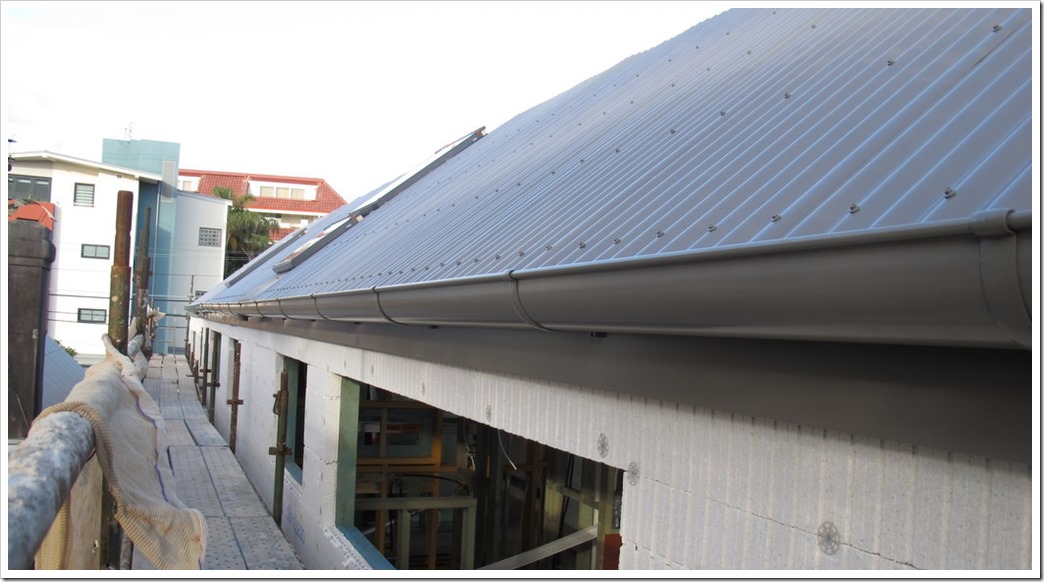
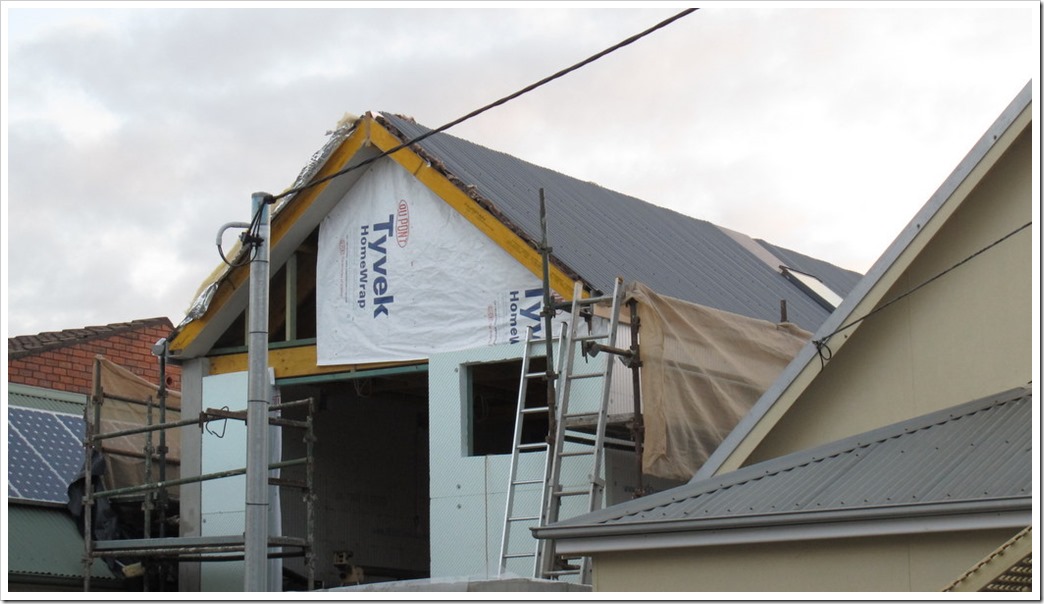
Almost! 
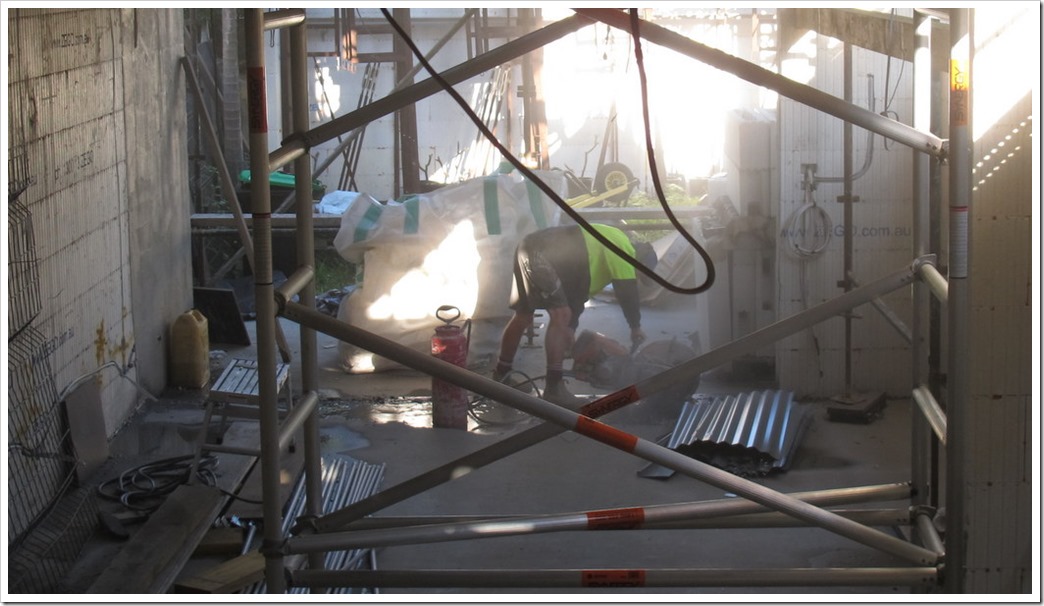
Meanwhile, we realised the slab needed a bit of adjusting – messy work cutting concrete!
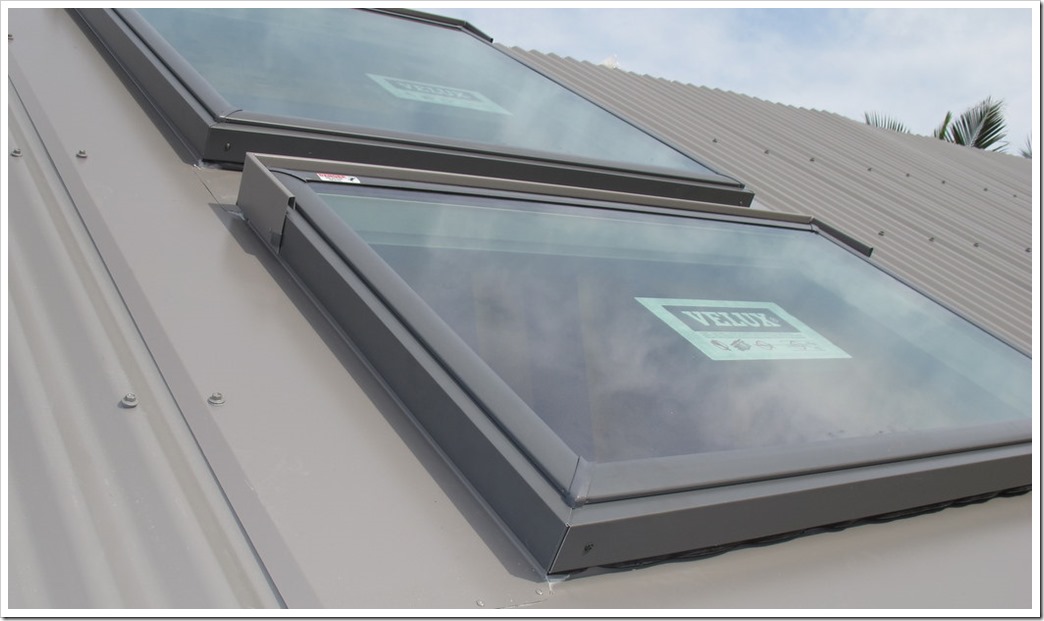 Custom flashings for the skylights.
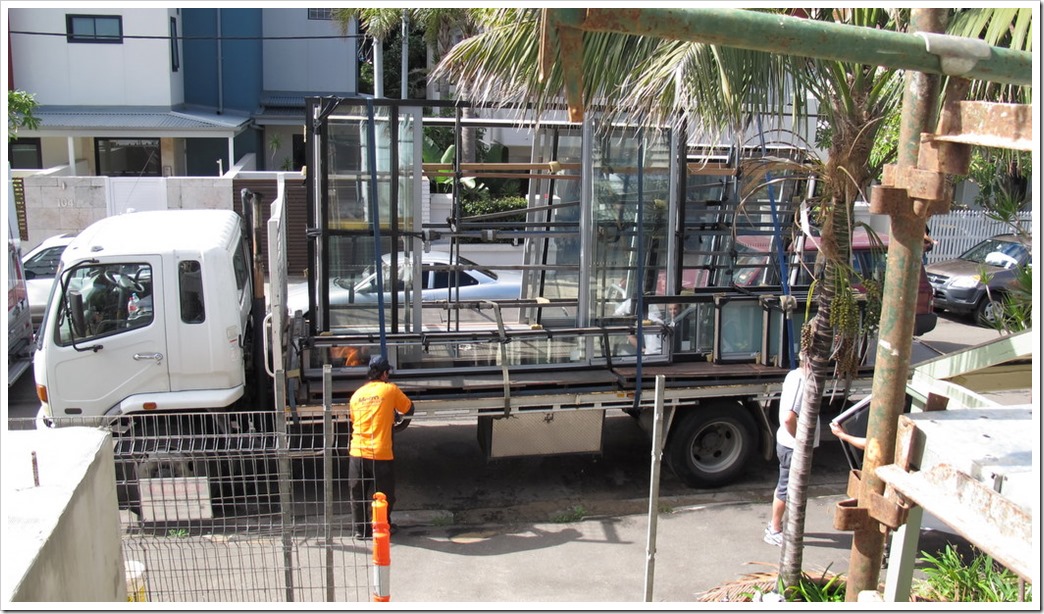
Rylock Windows arrive on time.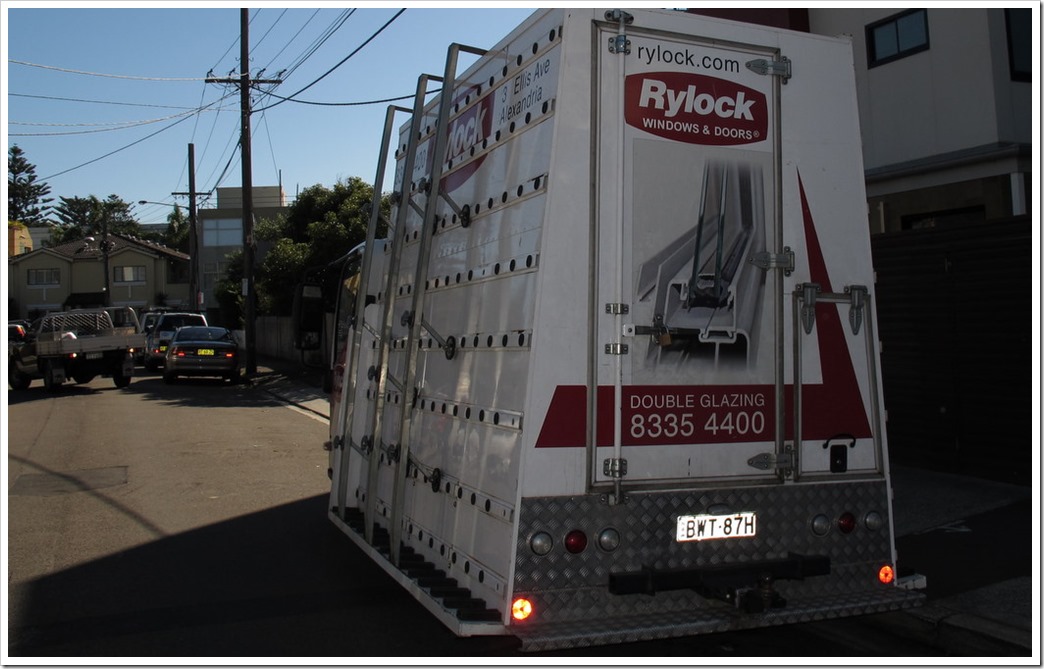
Installing the air con pipes was fun!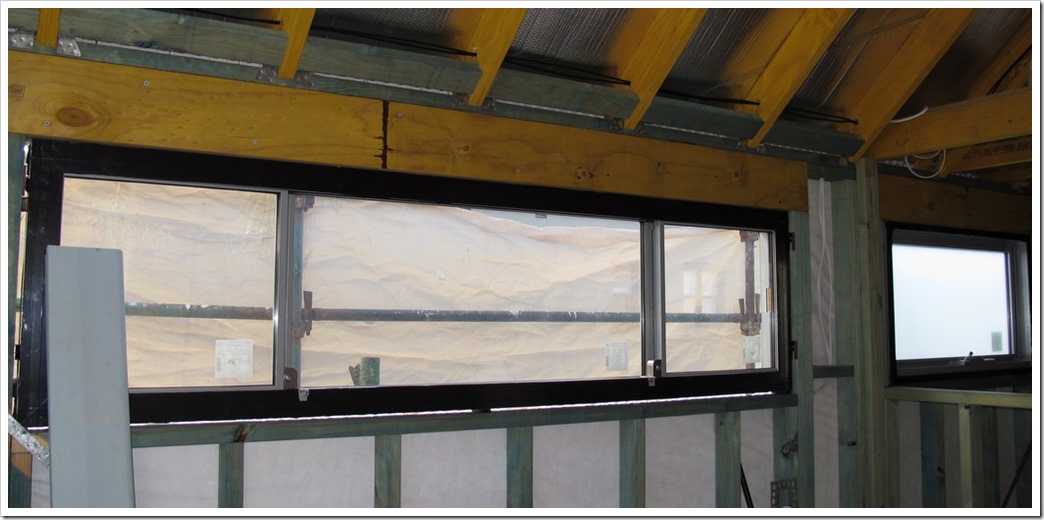
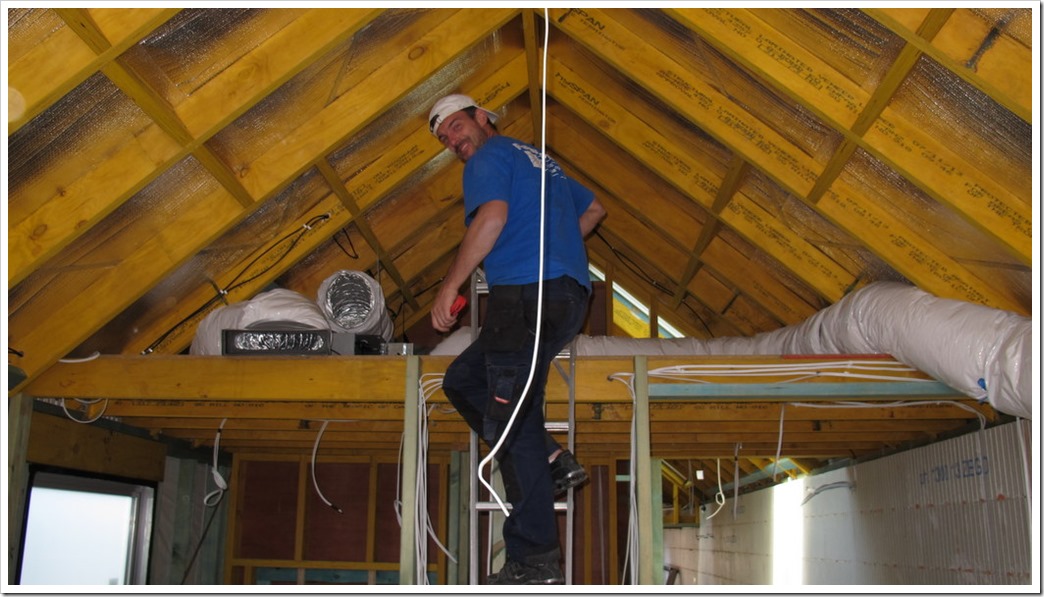
Cedric the air con guru!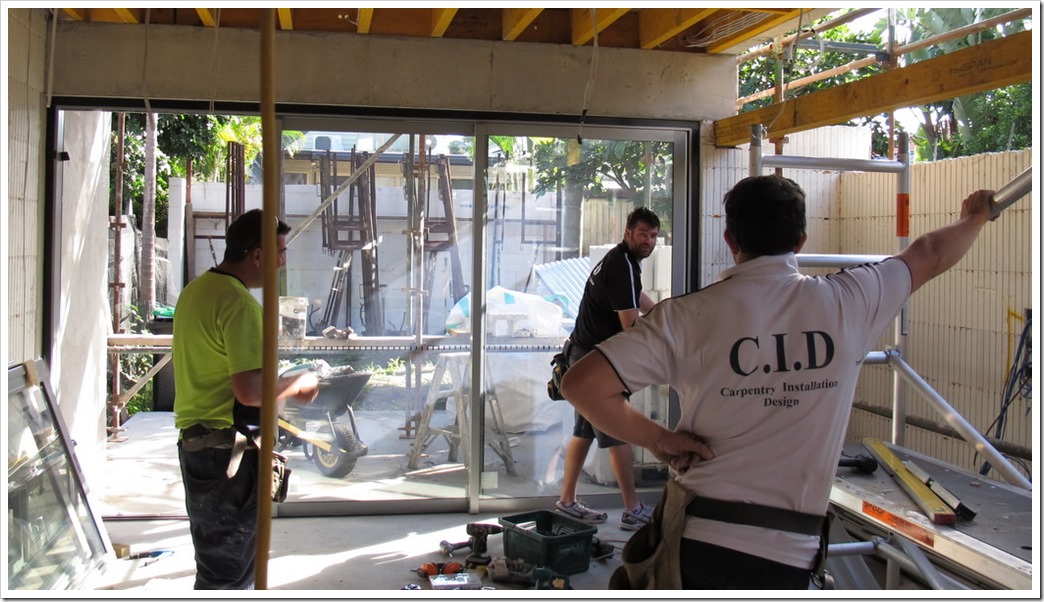
Living room sliding doors are in.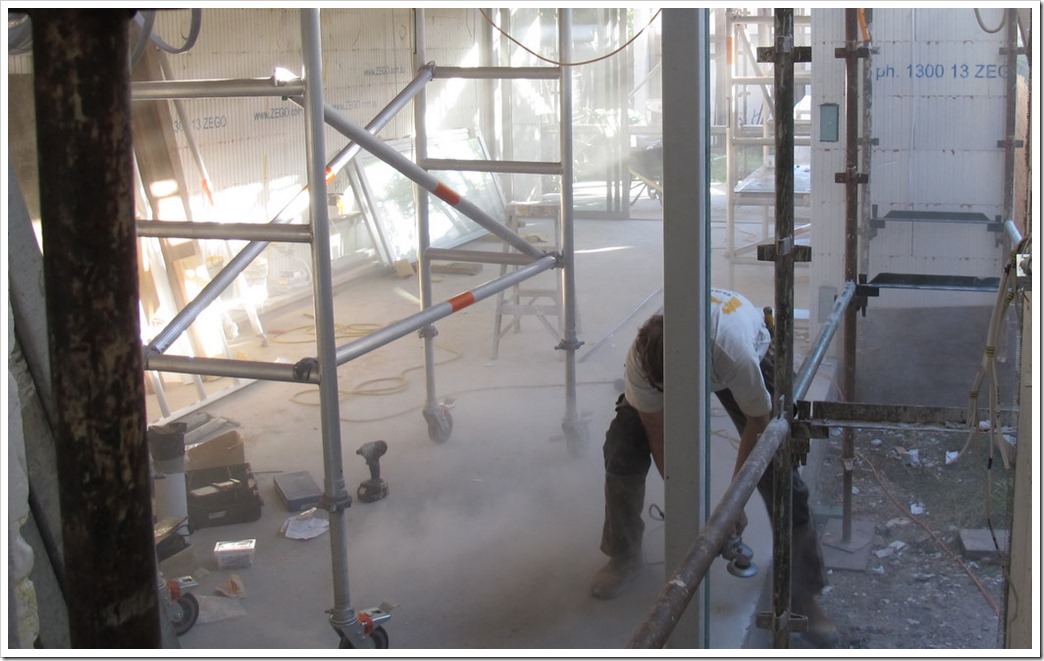
A few more slab adjustments!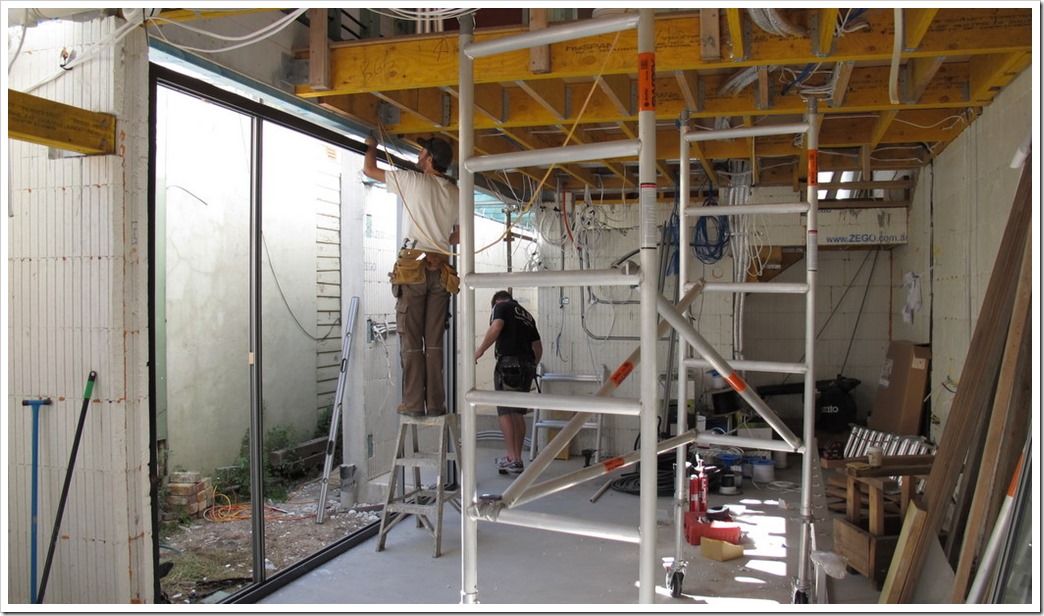
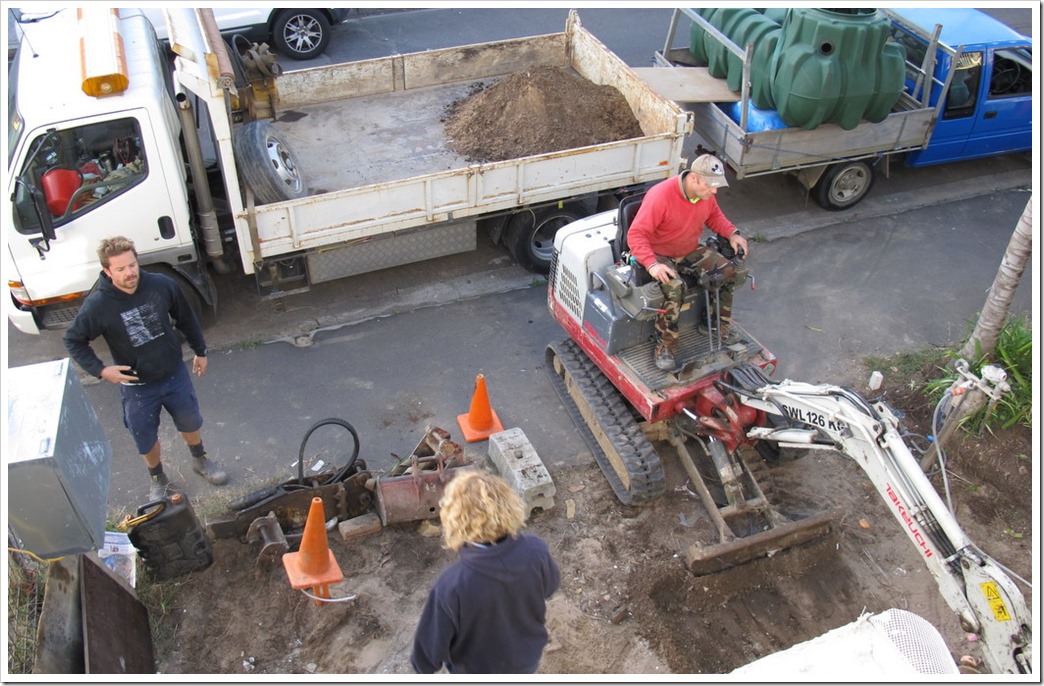
We decided to bury the little green rainwater tank under the driveway. 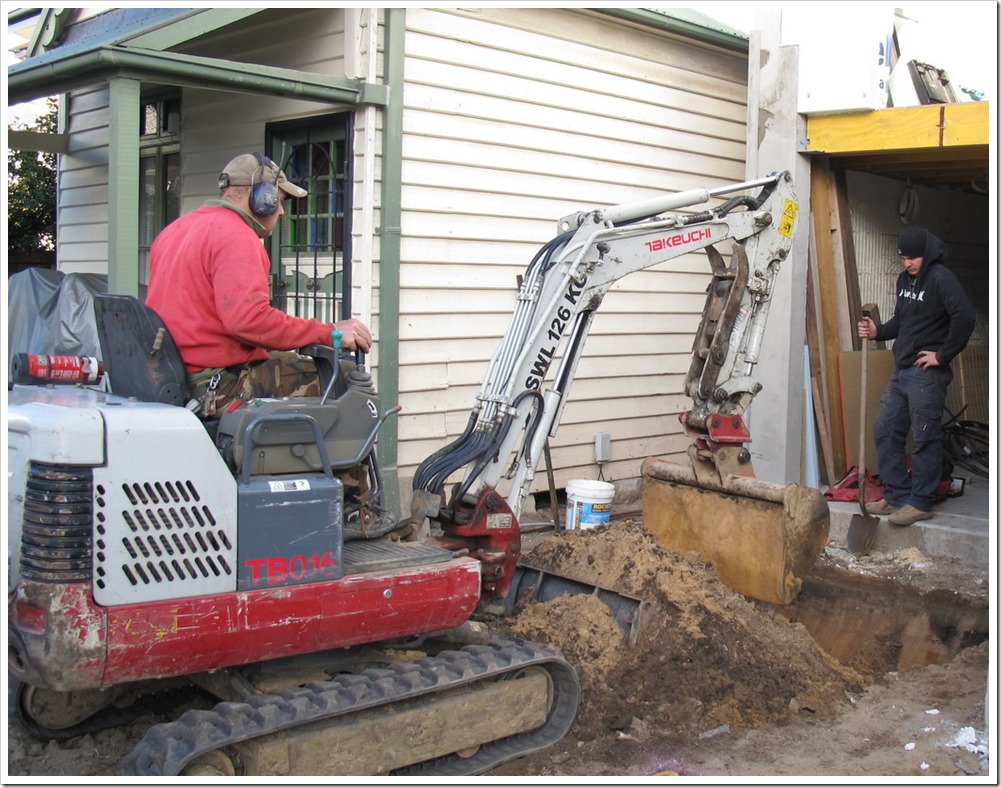
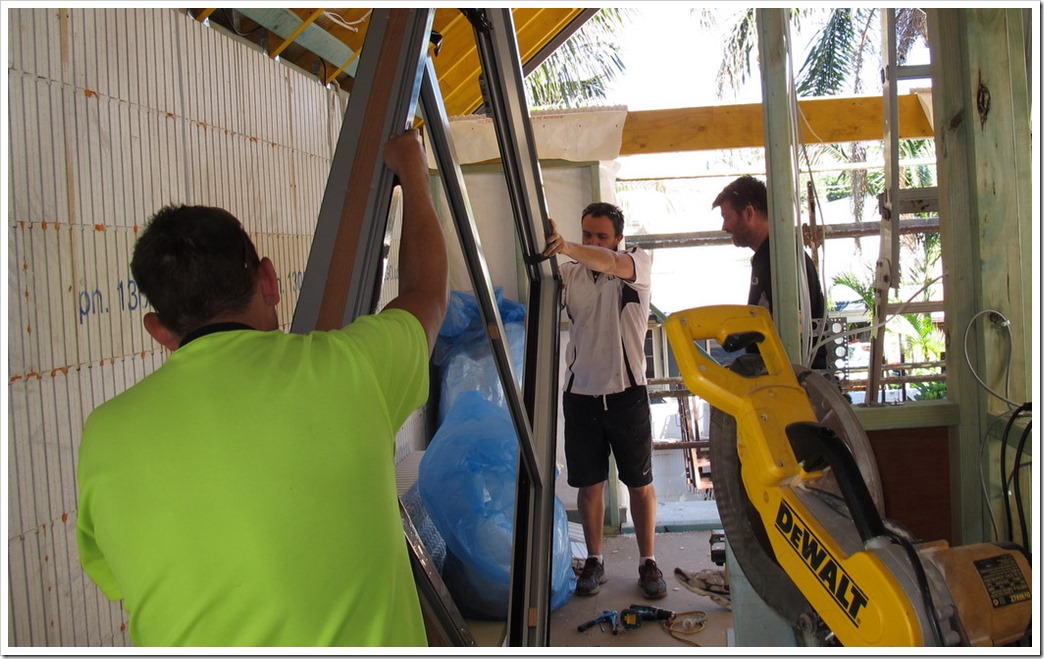
As with everything else, there wasn’t much room for error.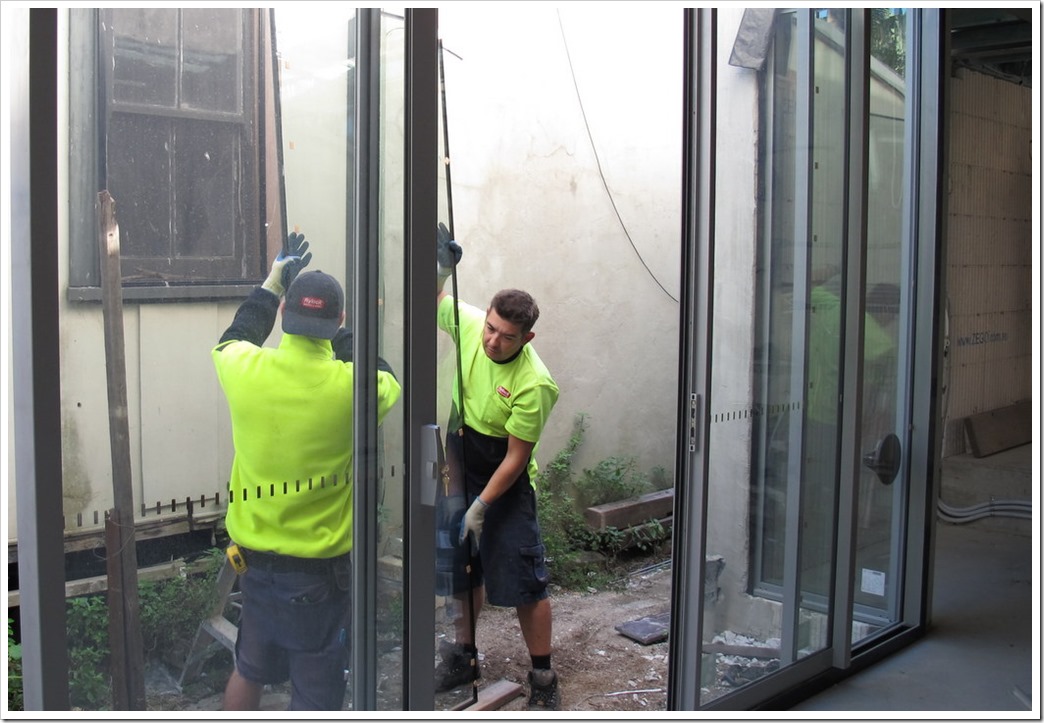 More glass going in.

That was a deep hole. 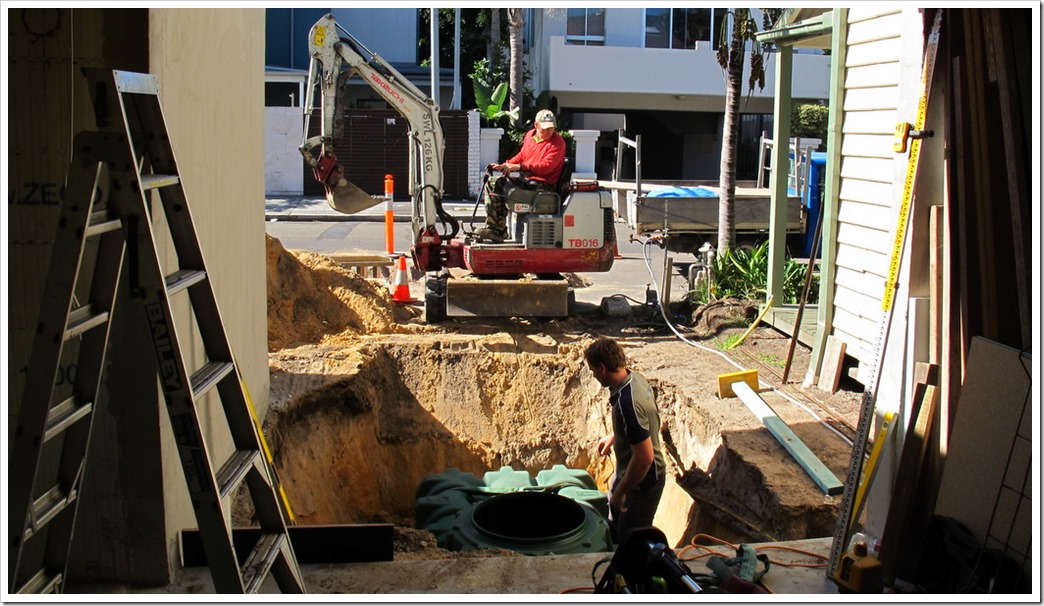
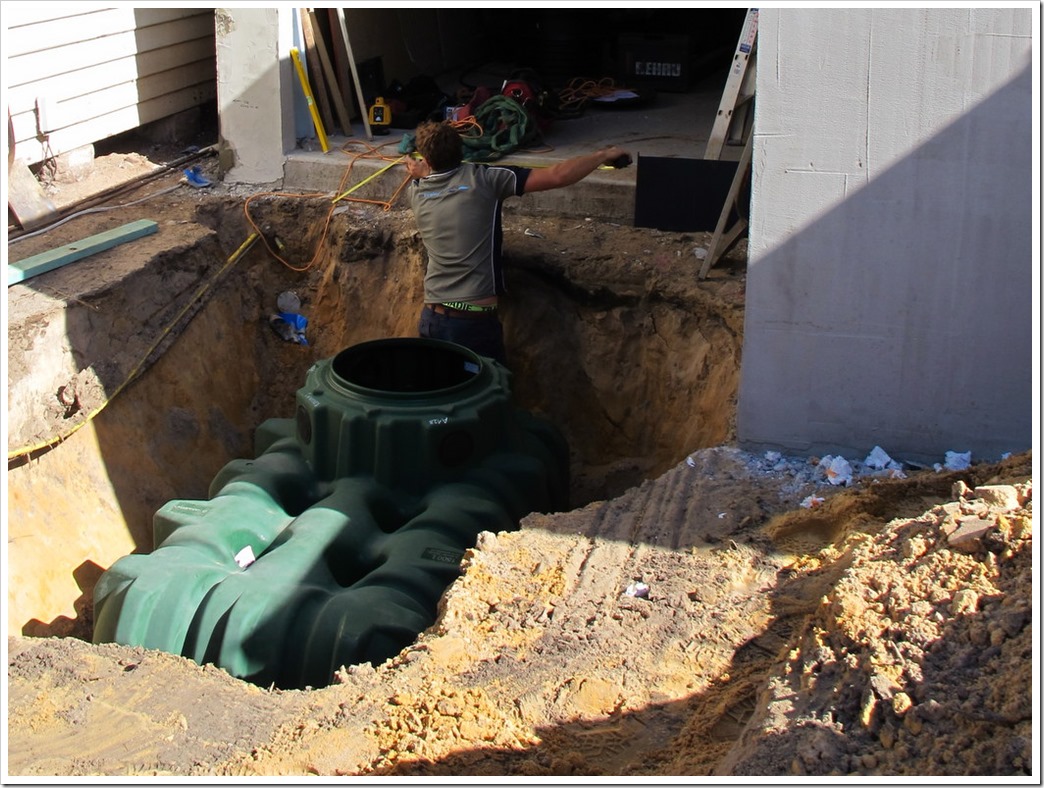
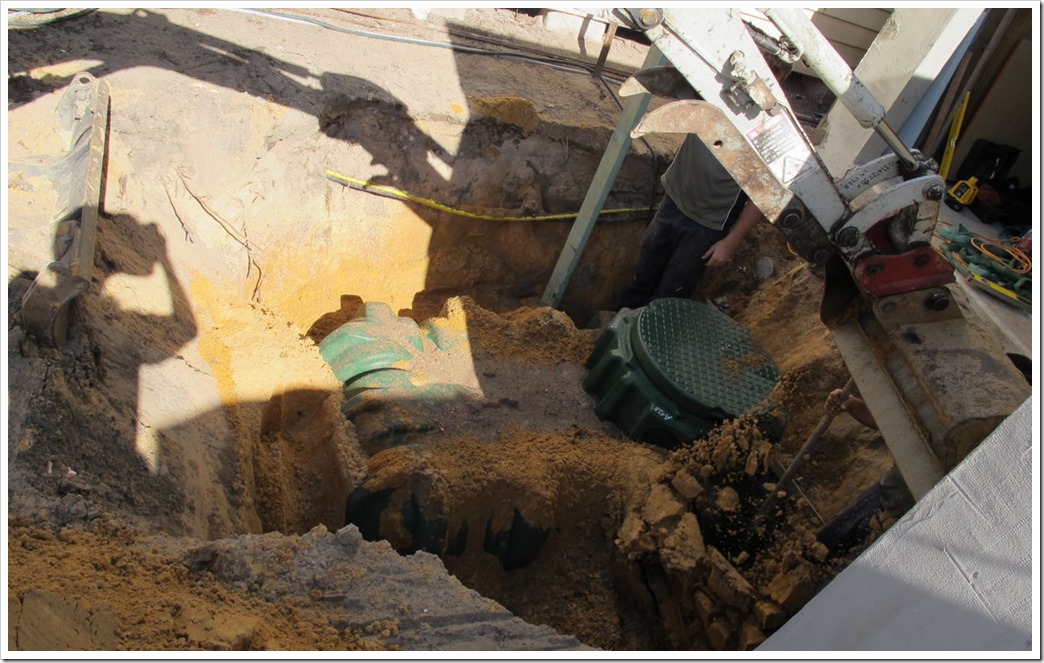
Quick let’s fill it in, before the sand collapses.
Indi and Jose inspecting the progress. Indi thought we could do better. 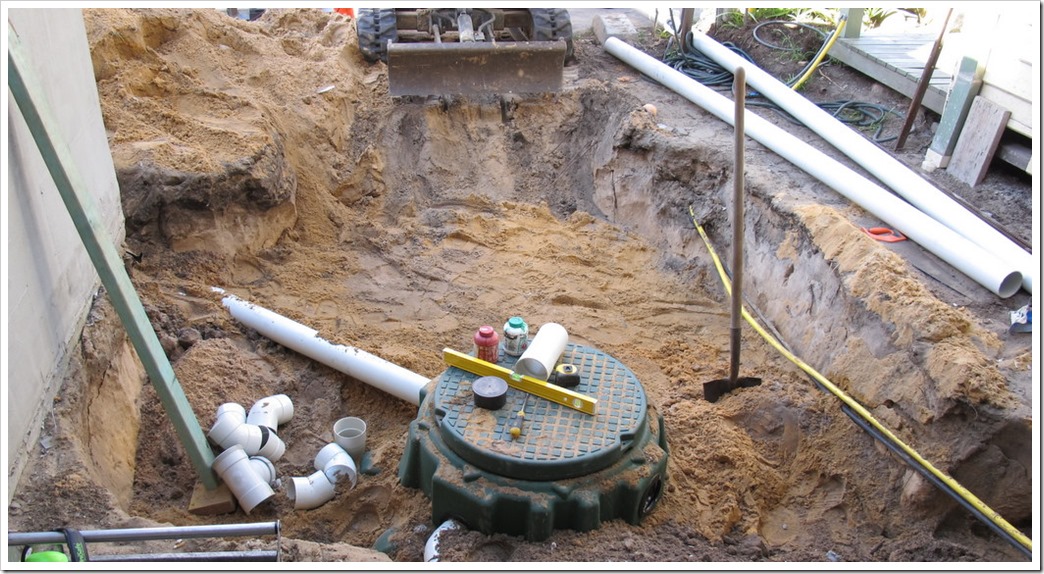

Masterful sand pit builder.
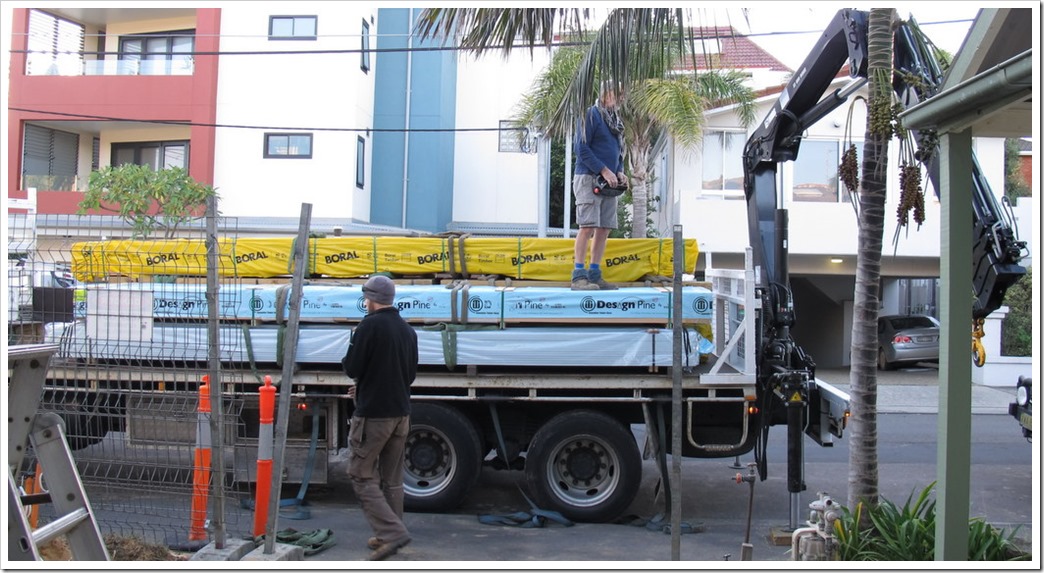
Ceiling cladding arrives
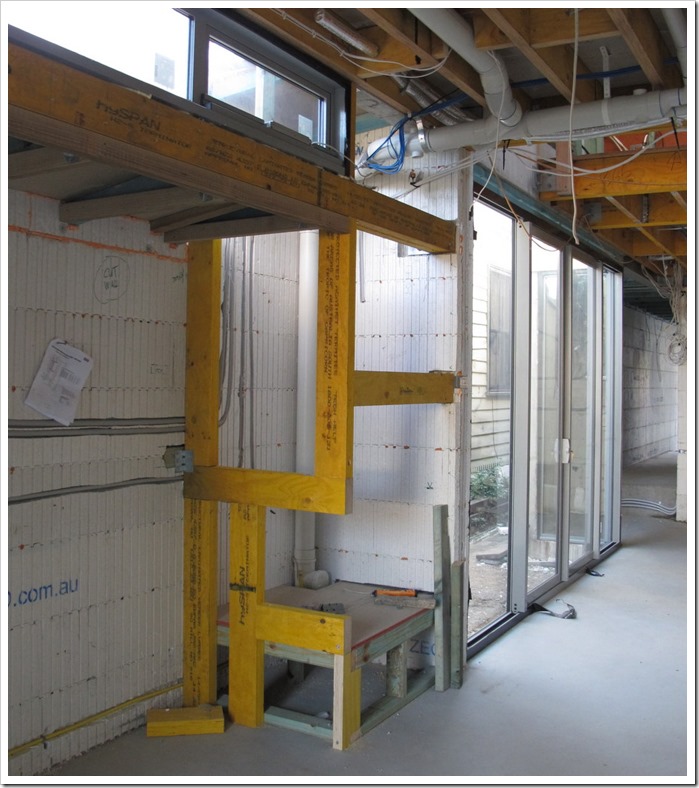
The fireplace goes here! 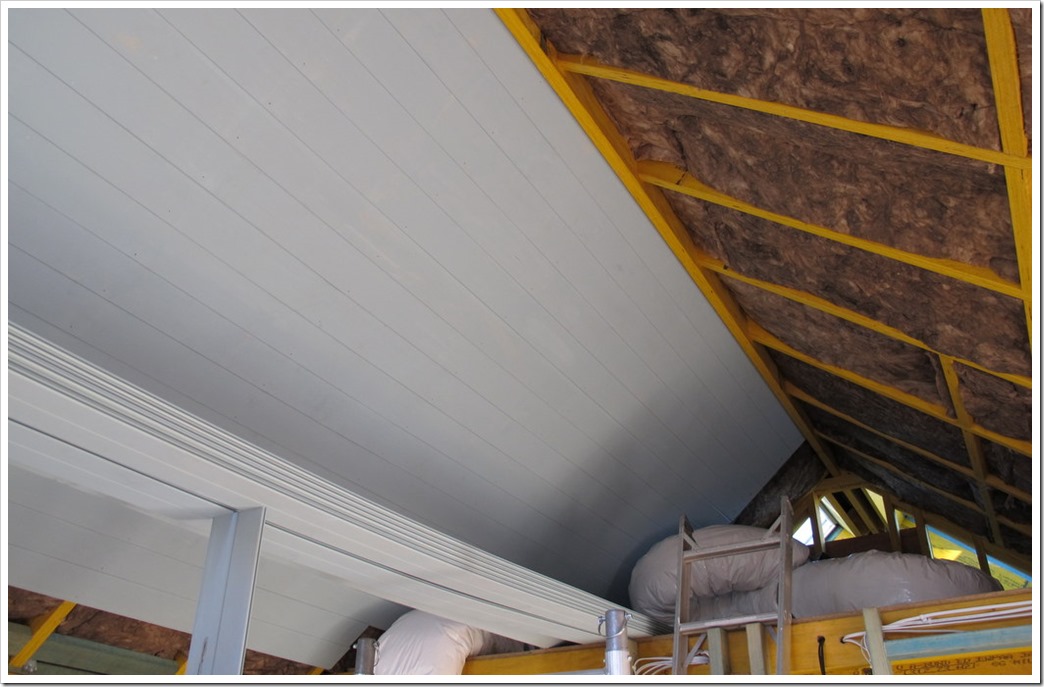
Groovy ceiling going up. 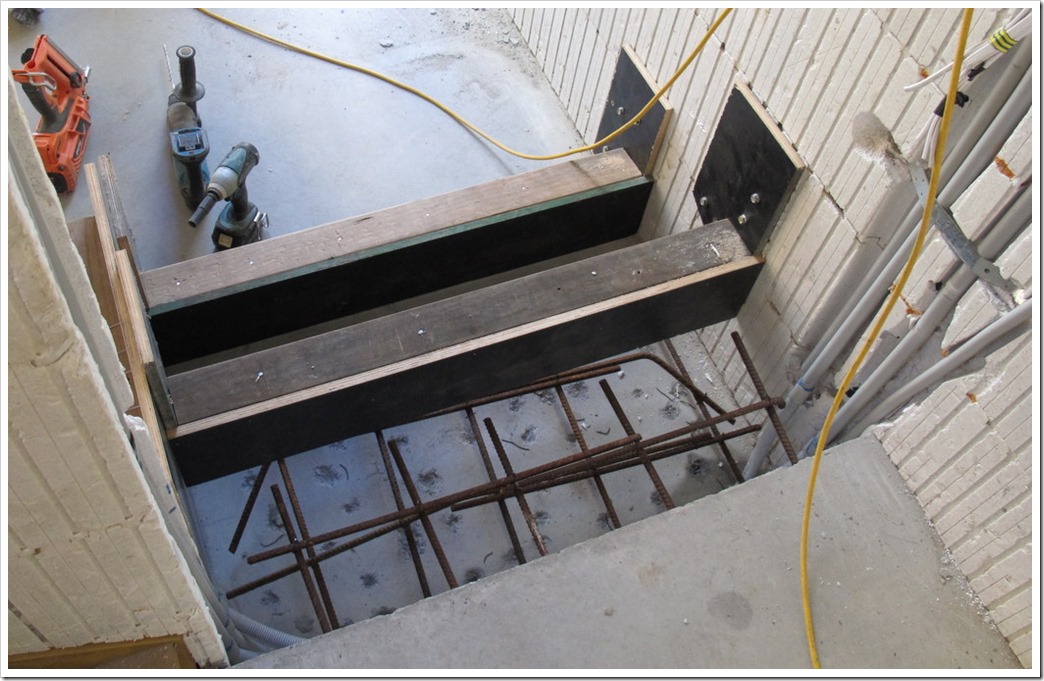
Steps 1
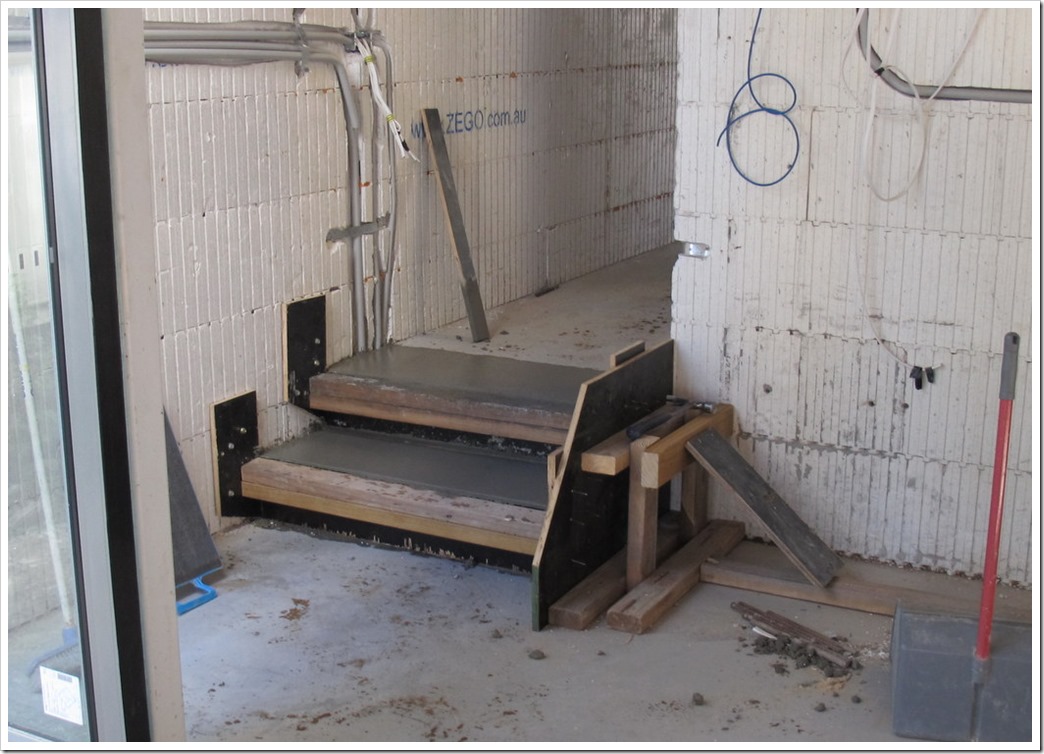
Steps 2 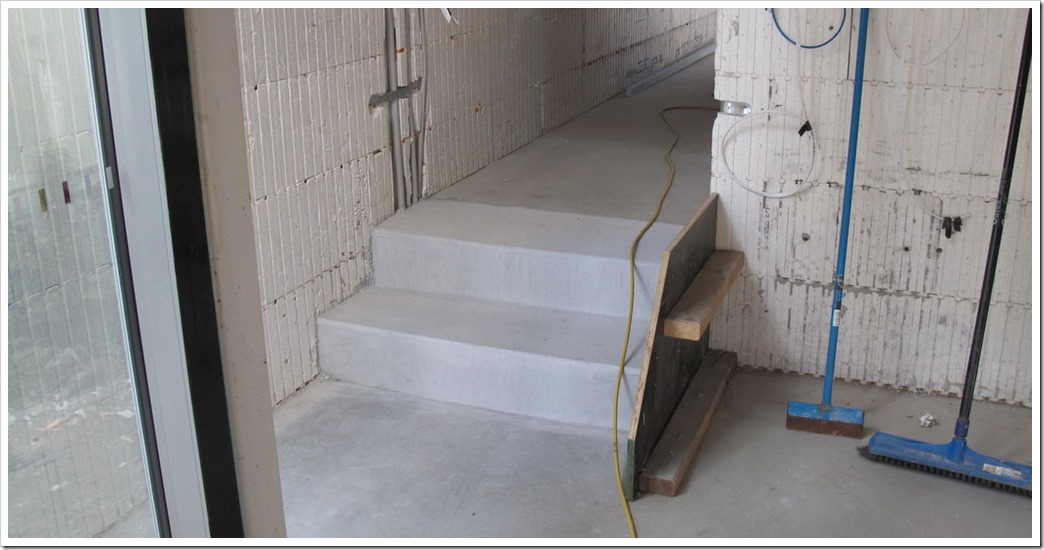 Steps finished.
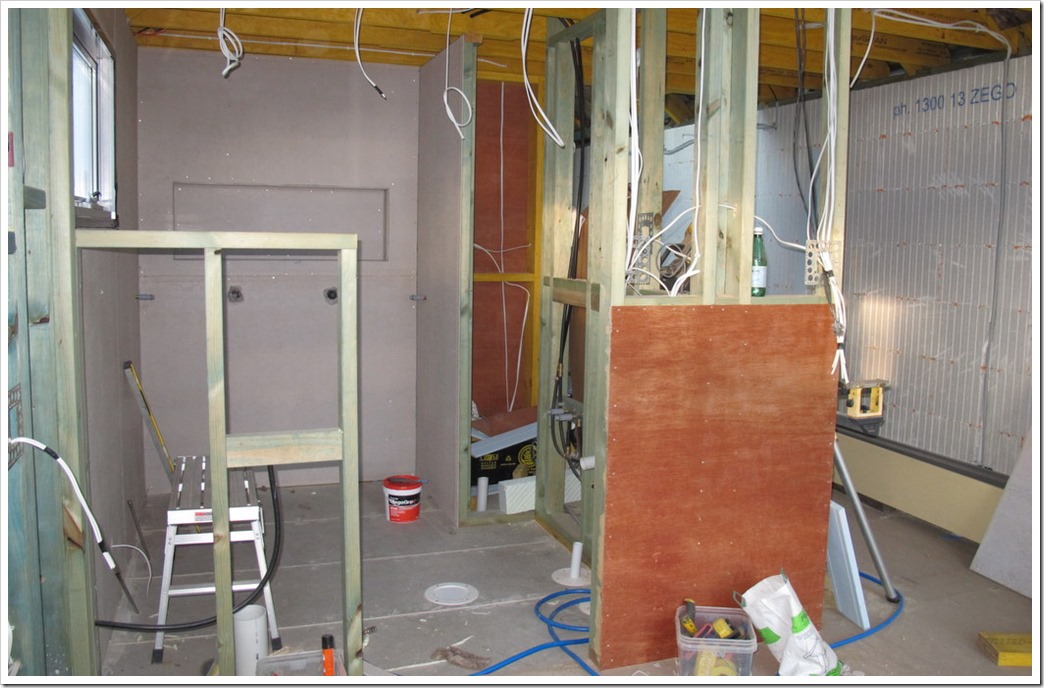 Master ensuite… WIP
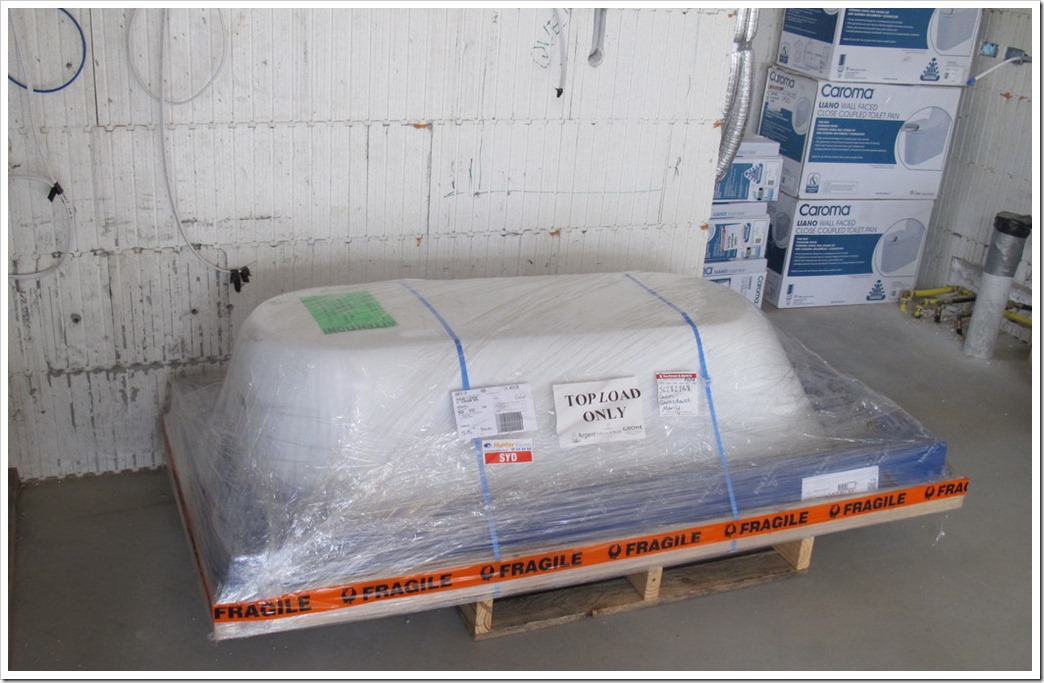
Bath & multiple thrones in the background
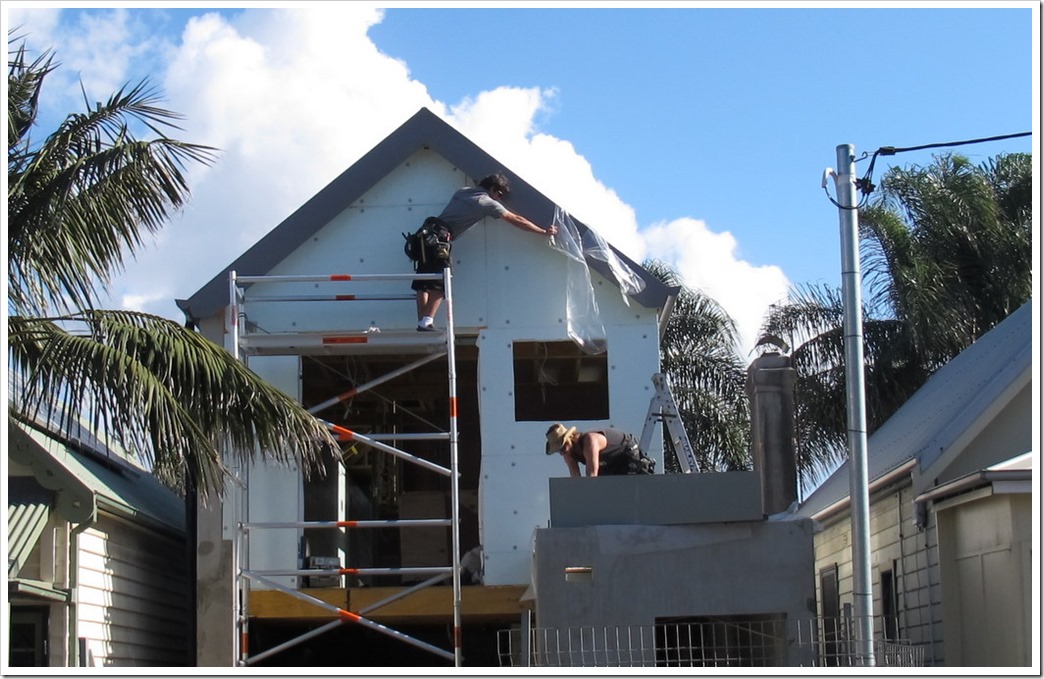 Taking shape…
Bath goes here… hopefully fits!
 Progress… and the finished product below.


